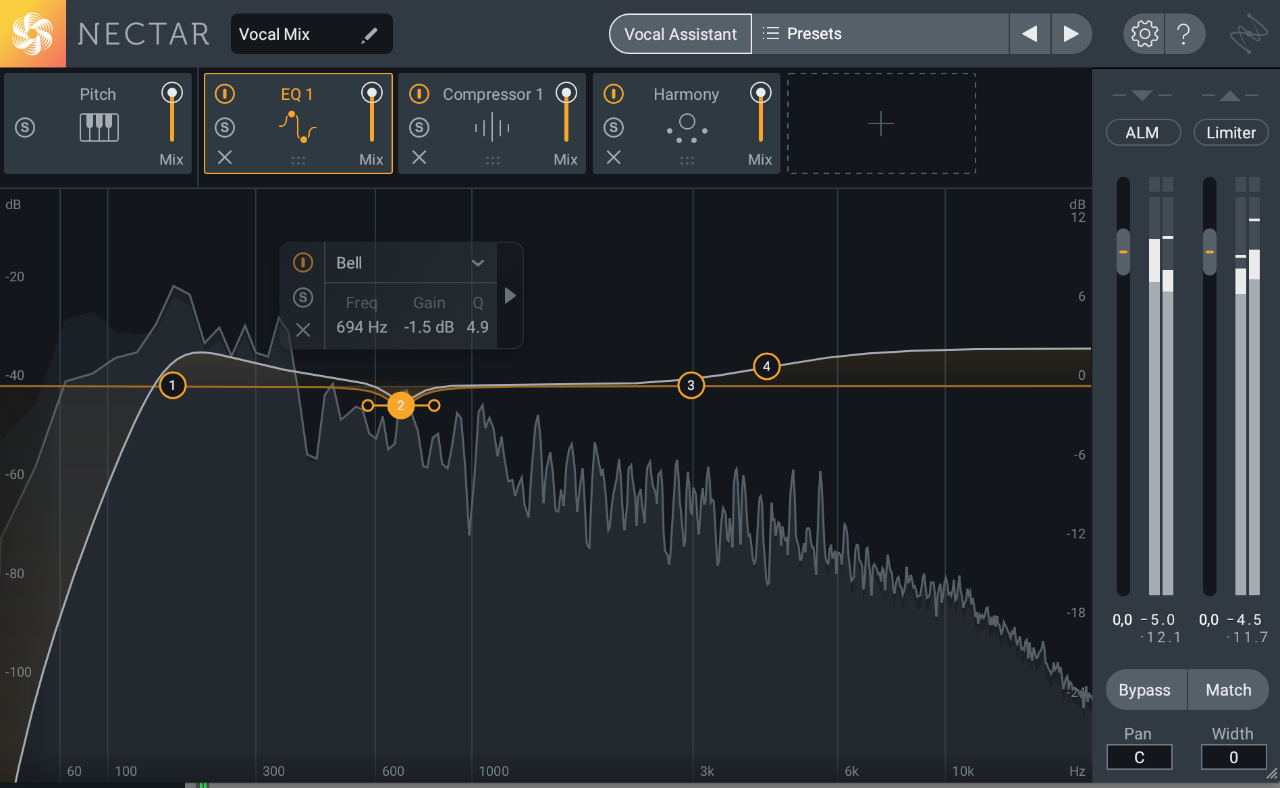
When two instruments with essentially the same bandwidth frequency (like guitars) play at the same volume at the same time, the result is a fight for attention. Think of it this way; you don’t usually hear a lead vocal and a guitar solo at the same time, do you? That’s because the human ear isn’t able to decide which to listen to, and becomes confused and fatigued as a result.
Select Equal Colored Regions/Events ⇧C — Logic Pro X keyboard command of the day
Logic Pro X keyboard command of the day. #LogicProX @StudioIntern1
Select Equal Colored Regions/Events ⇧C
If everything is set to the default colors you can use this to select all audio, all MIDI, etc. Once you start arranging things to group by color this provides an easy way to focus on a group. I usually group things with a summing stack with selected busses.
I will experiment with coloring as I start working on larger mixing projects.
⇧ SHIFT – ⌃ CONTROL – ⌥ OPTION – ⌘ COMMAND
Historical Preservation — New Learning Opportunity
I am deep in “historical preservation” mode.
I use Logic. Started with version 10 — I missed a lot of stuff
many amazing things hiding under the covers, but nowhere to be found. No books, no classes, unspoken.
My current path is to visit all of the Sound on Sound magazine Logic articles for version 10 (about 2013 onward). Part of what I hope to discover is how things changed from 9 to 10 (besides the amazing price drop). Once more familiar with what was, go back and peruse Logic 9 techniques, see what’s relevant. Then 8, then 7. Any further back is meh.
I am almost able to tie the Logic/Notator world to the Opcode Vision world in terms of what is actually happening, and what might be possible.
I think the key for me is to think of all of the automation stuff as simply a very capable sequencer that can effect change on audio and MIDI sources over time. That simple. That reproducible.
and to remember that just about everything that Logic can possibly do can be automated. Everything. Instruments, plugins, modify MIDI input, bend MIDI output
to me mixing is like creating a control program to work with “fixed” sources, be they audio files or MIDI sequences.
Mostly the control is a matter of small adjustment made once, un-changing over time. When I grok the change-over-time function then my programmer kicks in. I know how to do that stuff…10,000 hours 8 times over
just need to learn some language specifics
5 Common Vocal Mixing Issues Nectar 3 Solves
5 Common Vocal Mixing Issues Nectar 3 Solves:
While every performance has its own quirks, there are certain issues that almost always crop up in mixing sessions, like masking of the vocal with other instruments. For this reason we designed Nectar 3, the latest version of our vocal mixing suite, with assistive audio features to solve common problems by using your creative input. Let’s look at five scenarios:
Region Automation: Control Change 20 — Logic Pro X keyboard command of the day
Logic Pro X keyboard command of the day. #LogicProX @StudioIntern1
Region Automation: Control Change 20
Select CC20 for Region Automation. There a *lots* of things that can be automated. When you “Display Automation” for a track (happens if you use this command) you can see the enormous set of parameters that can be manipulated. You can even automate a change of MIDI channel!
Automation is the “program” that is applied to the tracks in the project. The sounds that are made come from the MIDI instruments or audio files that “sound” at a point in time. What happens to the sound is modified by plugins. All of the things that can occur over time — changes to plugins, volume, pan, all of it — the automation — is the program that gets written to create the finished product.
It appears that almost every single bit of what Logic can do is available as an “automation” parameter. We program the environment through automation, and allow real-time control to be applied — and recorded!
From the past — “MIDI Draw” — need to check old manuals to learn more about this. This leads me back to the days of Opcode Vision and the entire MIDI orchestra world.
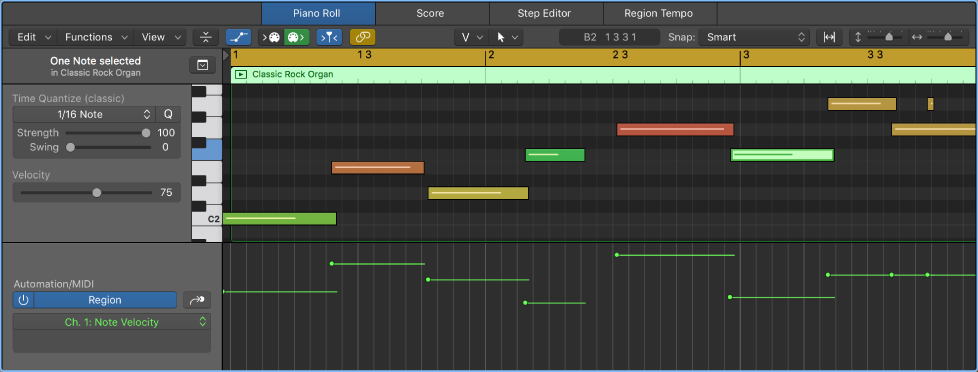
Use the Automation/MIDI area in the Piano Roll Editor — Logic Pro X:
When track-based automation is displayed in the Automation/MIDI area, the displayed automation curve is identical to the automation curve displayed in the automation lane in the Tracks area. Any adjustments to the automation curve made in either location is reflected immediately in the other. However, with region-based automation, you can choose to display either the automation curve associated with the region in the Tracks area automation lane or the MIDI data associated with individual notes. Therefore, with region-based automation it is possible to have the automation lane in the Tracks area showing the automation curve associated with the region and the Automation/MIDI area displaying MIDI data associated with each note (or vice versa).
⇧ SHIFT – ⌃ CONTROL – ⌥ OPTION – ⌘ COMMAND
- Views showing Time Ruler


Automation: Toggle Track/Region


Automation: Cycle Through Used Parameters ⌘Y


Automation: Display Off ⇧⌘Y


Region Automation: Volume


Region Automation: Panorama


Region Automation: Balance


Region Automation: Modulation


Region Automation: Breath


Region Automation: Foot Control


Region Automation: Portamento Time


Region Automation: Expression


Region Automation: Sustain Pedal


Region Automation: Control Change 20 ⌃⌥⇧⌘⌦


Region Automation: Control Change 21


Region Automation: Control Change 22


Region Automation: Control Change 23


Region Automation: Control Change 24


Region Automation: Control Change 25


Region Automation: Control Change 26


Region Automation: Control Change 27


Region Automation: Control Change 28


Region Automation: Control Change 29


Region Automation: Control Change 30


Region Automation: Control Change 31


Region Automation: Control Change 32


Region Automation: Surround Angle


Region Automation: Surround Diversity


Region Automation: Surround LFE


Region Automation: Channel Pressure


Region Automation: Pitch Bend


Region Automation: Program Change


Region Automation: Note Velocity


