Open Display Preferences… — Logic Pro X keyboard command of the day

Logic Pro X keyboard command of the day. #LogicProX @StudioIntern1

  Open Display Preferences…

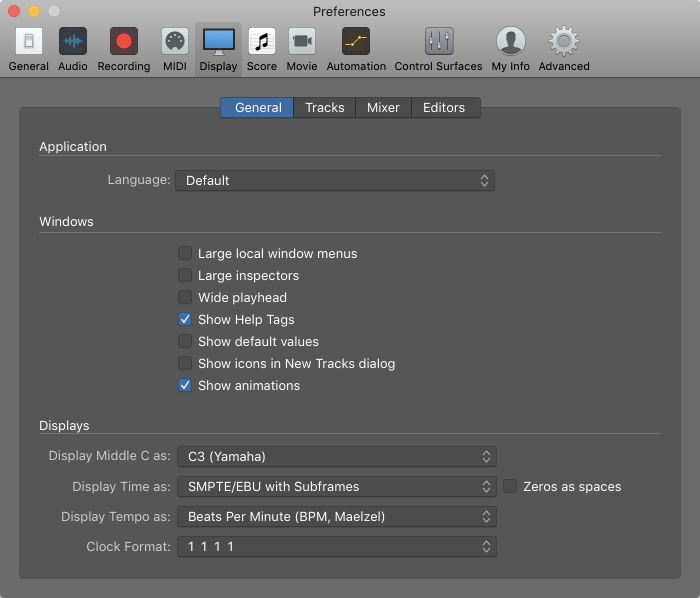
Opens the Logic preferences window with the “Display” settings selected. There are no project specific display preferences. Use screensets to adjust windows and locations. Add things to the Transport and Tool Bar so you can toggle things like “pre-fader” metering and other useful items.

General Display preferences — Logic Pro X

General Display preferences are only available when Show Advanced Tools is selected in Advanced preferences.

⇧ SHIFT – ⌃ CONTROL – ⌥ OPTION – ⌘ COMMAND

Set Movie Region Start to Playhead — Logic Pro X keyboard command of the day

Logic Pro X keyboard command of the day. #LogicProX @StudioIntern1

  Set Movie Region Start to Playhead

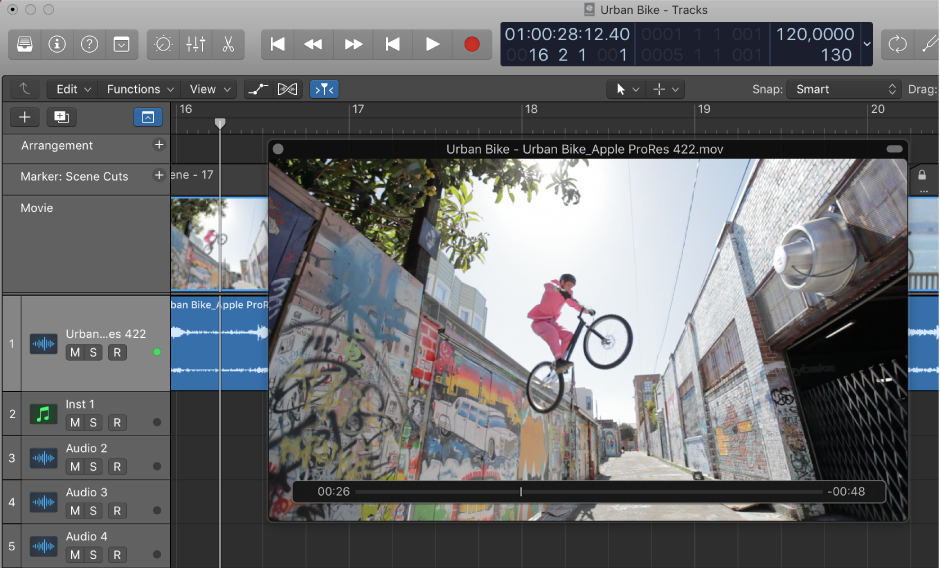
The “movie region” doesn’t have to encompass the entire length of the video. You can set the movie region start and end in the Project Preferences — Movie section, or by using the Movie Region commands.

I have replaced the audio in a movie once. Seemed OK. I don’t do any real work with video.

Add a movie to your project — Logic Pro X

You can view a QuickTime movie file synchronously with your project, making film and TV scoring quick and easy. Although you can’t record or edit video directly in Logic Pro X, you can replace the soundtrack of a video file with music, Foley, and dialogue arranged in your project.

⇧ SHIFT – ⌃ CONTROL – ⌥ OPTION – ⌘ COMMAND

Recall Screenset 2x ⌃2 — Logic Pro X keyboard command of the day

Logic Pro X keyboard command of the day. #LogicProX @StudioIntern1

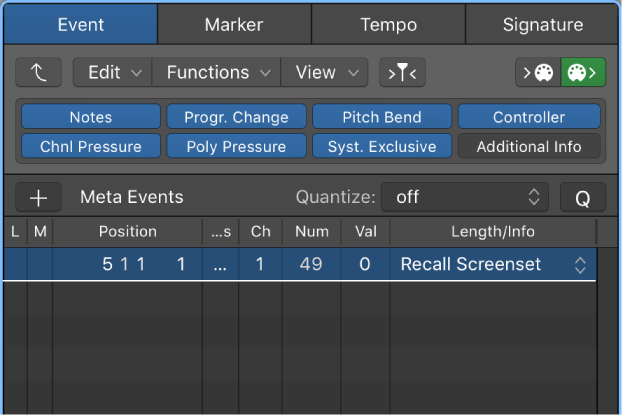
  Recall Screenset 2x    ⌃2

I don’t imagine that I would have 20 or more screensets, but I can certainly imagine situations where that might happen. Easy to imagine 20 or more scenes in a movie or show where a screenset is used to help keep things arranged (and now I can see where numbered markers might help as well.) I can also see the value of being able to program screenset changes into playback.

Seems that I have the screenset recalls mapped to SHIFT-number as opposed to CONTROL-number.

Create, recall, and switch screensets — Logic Pro X

You position windows in a layout that suits the way you work. This layout of various windows, including their display size, zoom levels, position, and other settings, is called a screenset. Once defined, you can save, and freely switch between different screensets, much as you might between different computer displays.

⇧ SHIFT – ⌃ CONTROL – ⌥ OPTION – ⌘ COMMAND

Command    Key Touch Bar
- Global Commands
Recall Screenset 1 1
Recall Screenset 2 2
Recall Screenset 3 3
Recall Screenset 4 4
Recall Screenset 5 5
Recall Screenset 6 6
Recall Screenset 7 7
Recall Screenset 8 8
Recall Screenset 9 9
Recall Screenset 1x ⇧1
Recall Screenset 2x ⇧2
Recall Screenset 3x ⇧3
Recall Screenset 4x ⇧4
Recall Screenset 5x ⇧5
Recall Screenset 6x ⇧6
Recall Screenset 7x ⇧7
Recall Screenset 8x ⇧8
Recall Screenset 9x ⇧9
Create 2 Track Automation Points each for Volume, Pan, Sends — Logic Pro X keyboard command of the day

Logic Pro X keyboard command of the day. #LogicProX @StudioIntern1

  Create 2 Track Automation Points each for Volume, Pan, Sends

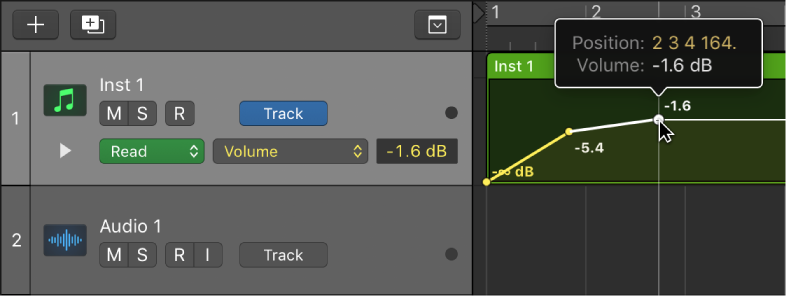
Adds typical automation “lanes” with points for adjustment at the start and end of a track. Automation points are added for each send that is currently assigned to the channel for the track.

Add and adjust automation points — Logic Pro X

To create changes over time to volume, pan, and effects settings, you add automation points to a track’s automation curve at different places, and then adjust the automation points so the value of the setting changes. You can adjust automation points by moving them up or down to a new value or by moving them left or right to a new point in the timeline. Numerical values are displayed alongside each automation point. You can also raise or lower the value of MIDI parameters associated with notes in instrument tracks or Drummer tracks. Note and numerical values are displayed alongside each MIDI data point. You can also add automation points at selection area or region borders.

⇧ SHIFT – ⌃ CONTROL – ⌥ OPTION – ⌘ COMMAND

Delete Unused Groups — Logic Pro X keyboard command of the day

Logic Pro X keyboard command of the day. #LogicProX @StudioIntern1

  Delete Unused Groups

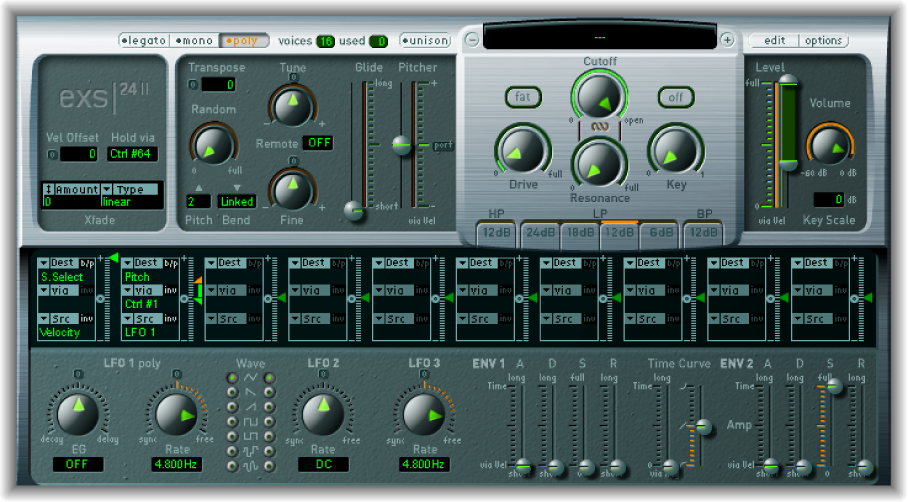
This command is used with the EXS24 sampler. Another casualty of the slashing of documentation in the change from Logic Pro 9 to Logic Pro X.

Wildly unfortunate — if you use the command-/ keypress to get further help on the command (as suggested in the Key Commands window) you get directed to the “Groups” section of the help system. Mixer Groups are definitely not what is going on here. Miles away. Mis-direction.

Logic Pro 9 Instruments: Creating EXS24 mkII Instruments, Zones, and Groups

Choose Group > Delete Unused Groups in the Instrument Editor.

EXS24 mkII overview — Logic Pro X

EXS24 mkII is a software sampler. It plays back audio files, called samples, that you load into it. These samples are combined into tuned, organized collections called sampler instruments. Because sampler instruments are based on audio recordings, they are ideally suited to emulating real instruments such as guitars, pianos, and drums.

⇧ SHIFT – ⌃ CONTROL – ⌥ OPTION – ⌘ COMMAND