Create 1 Track Automation Point each for Volume, Pan, Sends — Logic Pro X keyboard command of the day

#LogicProX @StudioIntern1

  Create 1 Track Automation Point each for Volume, Pan, Sends

Set up automation points for a “typical” set of parameters.

Add and adjust automation points in Logic Pro — Apple Support

To create changes over time to volume, pan, and effects settings, you add automation points to a track’s automation curve at different places, and then adjust the automation points so the value of the setting changes. You can adjust automation points by moving them up or down to a new value or by moving them left or right to a new point in the timeline. Numerical values are displayed alongside each automation point. You can also raise or lower the value of MIDI parameters associated with notes in instrument tracks or Drummer tracks. Note and numerical values are displayed alongside each MIDI data point. You can also add automation points at selection area or region borders.

⇧ SHIFT  –  ⌃ CONTROL  –  ⌥ OPTION  –  ⌘ COMMAND

Drum Synth: Exploring Logic Pro X’s new drum synthesizer- 9to5Mac

Drum Synth: Exploring Logic Pro X’s new drum synthesizer- 9to5Mac

Apple introduced a collection of amazing new features and products in Logic Pro X 10.5, and Drum Synth is not to be overlooked. While the latest overhaul of Apple’s flagship DAW is jam-packed full of big-time features — Live Loops, the new EXS24 replacement, Sampler, and more — there are several enhancements that might not make it on the marquee. We previously touched on some of these features like instant sampling and enhancements to the powerhouse Alchemy instrument, and now it’s time to delve into the new Logic Pro X Drum Synth.

Set Right Locator by Playhead — Logic Pro X keyboard command of the day

#LogicProX @StudioIntern1

  Set Right Locator by Playhead

The “Set Right/Left Locator by Playhead” commands are buttons that can be added to the control bar. Some very useful documentation in Logic Pro 9 manuals describing how to use cycle modes. Skip cycle is kind of interesting.

I need to use cycle areas to create markers a lot more than I do. Define the cycle area — typically select something and use the ‘Set Locators/Loop by Regions/Events/Marquee and Enable Cycle/Loop ⌘U’ command. Grab the cycle area in the ruler and drag it down to the marker ruler. A new marker is created waiting for text input…ideal.

Logic Pro 9 User Manual: Using Cycle Mode

Set Left Locator by Playhead and Set Right Locator by Playhead: The current playhead position is used to define the left or right locator value. Also available as key commands.

⇧ SHIFT – ⌃ CONTROL – ⌥ OPTION – ⌘ COMMAND

Time and Pitch Machine… ⌃P — Logic Pro X keyboard command of the day

#LogicProX @StudioIntern1

  Time and Pitch Machine…    ⌃P

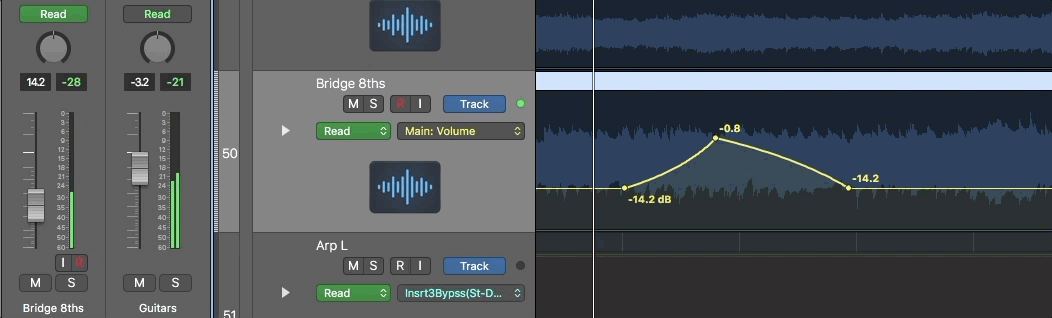
The entirety of information about the Sample Editor has been removed from Logic Pro X documentation. I guess they thought that no one edits audio anymore.

I am very slow in my reading of the Logic Pro 9 manual(s), having only reached the “Basic Operations” chapter where I am at “Working with Help Tags”. It’s a long slog.

Logic Pro 9 User Manual: Editing Audio in the Sample Editor

You can use the Arrange area or the Sample Editor to make incredibly fine adjustments to audio files. In this chapter you will see why the Sample Editor is the ideal tool for removing pops and clicks in audio material, setting accurate crossover points for looped playback, correcting phase cancelation errors, and much more.

You will also take a look at transient markers, which denote significant points—or transients—in an audio file. The audio on a track is analyzed for transients the first time you enable that track for Flex Time editing. Any detected transients in the file are marked with transient markers.

Finally, you will learn about some audio processing tools—collectively known as the Digital Factory—that are unique to the Sample Editor. These include time stretching and pitch shifting, audio quantization, and extraction of pitch and rhythmic information from audio—which can be applied to other audio or MIDI parts.

Logic Pro 9 User Manual: Using the Sample Editor’s “Time and Pitch Machine”

You can use the “Time and Pitch Machine” to radically alter the time structure of audio files, including time compression or expansion, and pitch transposition. When changing the pitch, you can also correct any alteration of the formants—the vocal characteristics of the pitch-shifted audio. Pitch shifting without formant correction causes a phenomenon commonly known as the Mickey Mouse effect.

⇧ SHIFT – ⌃ CONTROL – ⌥ OPTION – ⌘ COMMAND

Set Solo Lock Mode ⌥S — Logic Pro X keyboard command of the day

#LogicProX @StudioIntern1

  Set Solo Lock Mode ⌥S

The documentation says option-click the Solo button, then select regions, click when done. That doesn’t seem to work for me. If I select regions and option-click the Solo button it appears to work as I expect…

Mute and solo regions in the Logic Pro Tracks area — Apple Support

You can mute one or more regions in the Tracks area to exclude them from playback. You can also solo individual regions, to hear them in isolation, and lock the solo status of regions.

⇧ SHIFT – ⌃ CONTROL – ⌥ OPTION – ⌘ COMMAND