Toggle writing Mute Automation in Write Mode — Logic Pro X keyboard command of the day

Logic Pro X keyboard command of the day. #LogicProX @StudioIntern1

  Toggle writing Mute Automation in Write Mode

This is not found in the help files, the iBook version of the manuals, or the PDF version of the manual. I have found interesting discussions about the topic for Reaper, Nuendo, ProTools, and a forum thread where someone was complaining about mute automation not working properly in “Touch” mode.

In the first case every time I get near “write” automation the warning signals flash about the destruction of all existing automation when in “Write” mode.

It never occurred to me that I could automate the mute button to silence a track while playing. My first resort would be to simply turn that part of the track into a region which I would then just remove. I can always get it back. It is visibly clear in the arrangement. Another way would be to create the region and set the region gain to minus infinity.

I guess I should try working a mixing session with things stemmed properly, put all the AUX tracks into “write” automation mode, and press play. Move the faders, change the panning push the mute button, etc.

It is certainly clear that if I did create mute automation, and it was not showing, I would wonder why some sound simply disappeared.

Automation overview — Logic Pro X:

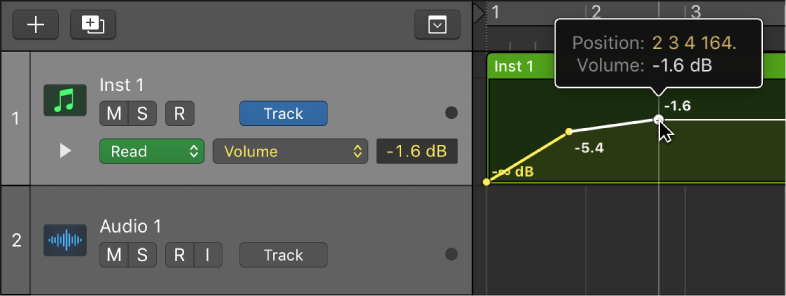
Automation refers to recording, editing, and playing back the movements of faders, knobs, and switches. Using automation, you can create changes over time to volume, pan, and other settings. You can add automation to all track types.

⇧ SHIFT – ⌃ CONTROL – ⌥ OPTION – ⌘ COMMAND

Command    Key Touch Bar
- Global Commands
Toggle Current Track Automation Write/Read
Toggle Current Track Automation Write Relative Mode
Toggle writing Volume Automation in Write Mode
Toggle writing Pan Automation in Write Mode
Toggle writing Mute Automation in Write Mode
Toggle writing Send Levels Automation in Write Mode
Toggle writing Plug-in parameters Automation in Write Mode
Toggle writing Solo Automation in Write Mode
Toggle Hide Group 32 — Logic Pro X keyboard command of the day

Logic Pro X keyboard command of the day. #LogicProX @StudioIntern1

  Toggle Hide Group 32

Hmm. 32 groups. The keyboard commands for 1 through 9 are ⌃⇧1 to ⌃⇧9 .

The commands do what I expect. If there is a group numbered ‘n’ the command toggles the view of the tracks/channels. Hidden, but not like “Hide Track”.

Groups appear to be very useful. I should use them more. I fooled around with them a bit to try and change colors more easily, but they do so much more.

Groups are “mixer groups”. The overview helps us get started.

Groups overview
The Mixer groups feature is only available when Show Advanced Tools is selected in the Advanced preferences pane.

Prior to mixing, you may find it useful to define some logical channel strip groups. You could, for example, group all drum channel strips under one drum group. This would allow you to control the group meters (volume, pan, mute, solo, sends, and so on) using a single control, while still maintaining the relative parameter values of each channel strip.

Excerpt From: Apple Inc. “Logic Pro X User Guide.” iBooks.

⇧ SHIFT – ⌃ CONTROL – ⌥ OPTION – ⌘ COMMAND

Show/Hide Output Channel Strips ⇧:four: — Logic Pro X keyboard command of the day

Logic Pro X keyboard command of the day. #LogicProX @StudioIntern1

  Show/Hide Output Channel Strips        ⇧:four:

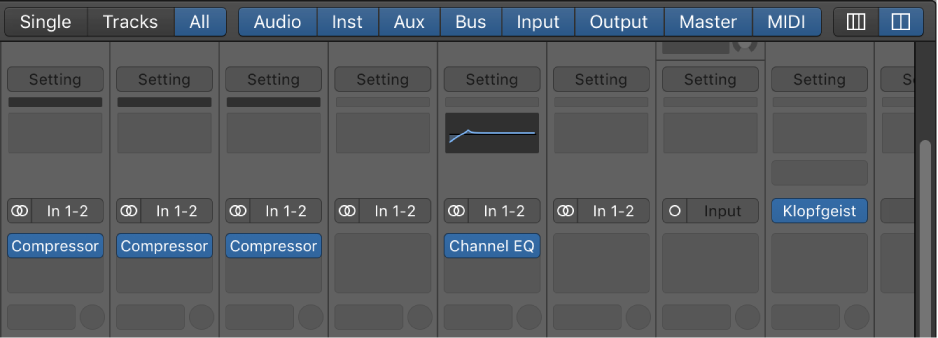
I have yet to find any mention of this in the user guides. The mixing overview calls the 8 buttons “filters”.

 Audio | Inst | Aux | Bus | Input | Output | Master/VCA | MIDI

I don’t often change the mixer view, but leaving out the Output strips does save a tiny bit of room.

The X-Touch has “dedicated” buttons to filter the channel strips when it is in “Global” mode. This caused me great confusion until I started the serious examination of how (and why) the Mackie Control/Logic Control is used.

Mixing overview — Logic Pro X:

When you mix a project, you balance the different parts and blend them into a cohesive whole. You can also add effects to alter the sound, use routing and grouping to control the signal flow, and use automation to create dynamic changes in your project over time. You do this in the Mixer, which opens below the Tracks area or as a separate window.

⇧ SHIFT – ⌃ CONTROL – ⌥ OPTION – ⌘ COMMAND

Coming Out | Sound on Sound Magazine

Coming Out |:

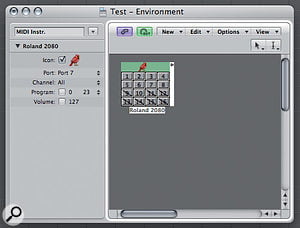
Software synths have taken over many of the roles that were once fulfilled by keyboard or rackmounting instruments, but many of us still have favourite hardware synths we’d like to integrate into our systems. And although Logic Pro has very capable MIDI features, its handling of external MIDI synths is not quite as intuitive as it might be. It often turns out that there’s more than one way to do a job, with no one way being clearly the ‘right’ way. For this article I’m going to go through the way I set up my own external Roland JV2080 (using only its stereo output).

The Rosetta Stone — this helped me understand GM Mixer and multi-track MIDI devices so much better.

Reset Sizes — Logic Pro X keyboard command of the day

Logic Pro X keyboard command of the day. #LogicProX @StudioIntern1

  Reset Sizes

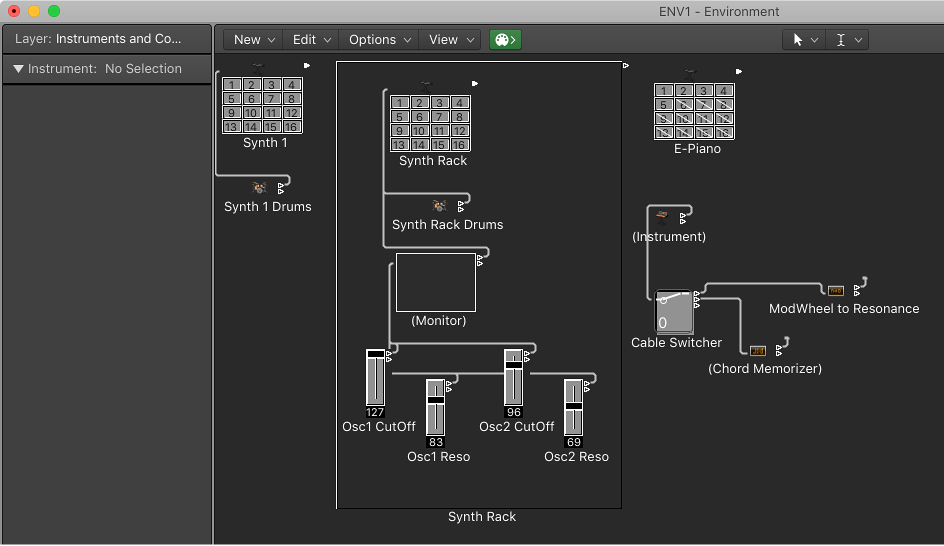
According to the Keyboard Commands window this command is in the MIDI Environment. I have yet to discover where in that convoluted thing it exists. My suspicion is that the command is actually “Size by default” located in the “Cleanup” menu in the environment window. It certainly functions like that — resetting objects to their default size.

Environment overview — Logic Pro X:

The Environment refers to the virtual environment of Logic Pro inside your computer. It provides a virtual view of your MIDI studio, giving you complete control over your MIDI setup, and includes the following objects.

⇧ SHIFT – ⌃ CONTROL – ⌥ OPTION – ⌘ COMMAND