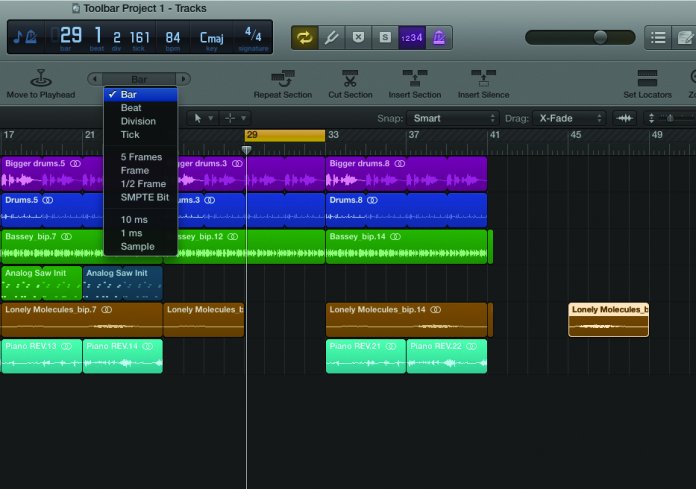
Logic Pro X keyboard command of the day. #LogicProX @StudioIntern1
Replace with Overlapped Regions
I have yet to come to a place in my work that I would use this type of command. As I read about overlapping regions/events, and the things that I might be able to do with them I start to get a glimmer of an idea. But mostly, no. I don’t see using this anytime soon.
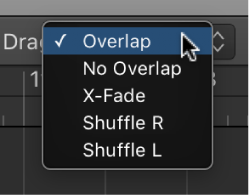
Control positioning with drag modes — Logic Pro X:
When Show Advanced Tools is selected in the Advanced preferences pane, the Drag pop-up menu is available in the Tracks area and in time-based editors (such as the Audio Track Editor and Piano Roll Editor). Using drag modes, you can control the results of moving, resizing, or deleting regions in the Tracks area.
⇧ SHIFT – ⌃ CONTROL – ⌥ OPTION – ⌘ COMMAND