link107 link108 link109 link110 link111 link112 link113 link114 link115 link116 link117 link118 link119 link120 link121 link122 link123 link124 link125 link126 link127 link128 link129 link130 link131 link132 link133 link134 link135 link136 link137 link138 link139 link140 link141 link142 link143 link144 link145 link146 link147 link148 link149 link150 link151 link152 link153 link154 link155 link156 link157 link158 link159 link160 link161 link162 link163 link164 link165 link166 link167 link168 link169 link170 link171 link172 link173 link174 link175 link176 link177 link178 link179 link180 link181 link182 link183 link184 link185 link186 link187 link188 link189 link190 link191 link192 link193 link194 link195 link196 link197 link198 link199 link200 link201 link202 link203 link204 link205 link206 link207 link208 link209 link210 link211 link212 link213

Using bus sends and aux channels in Logic Pro X — MusicTech

Using bus sends and aux channels in Logic Pro X — MusicTech:

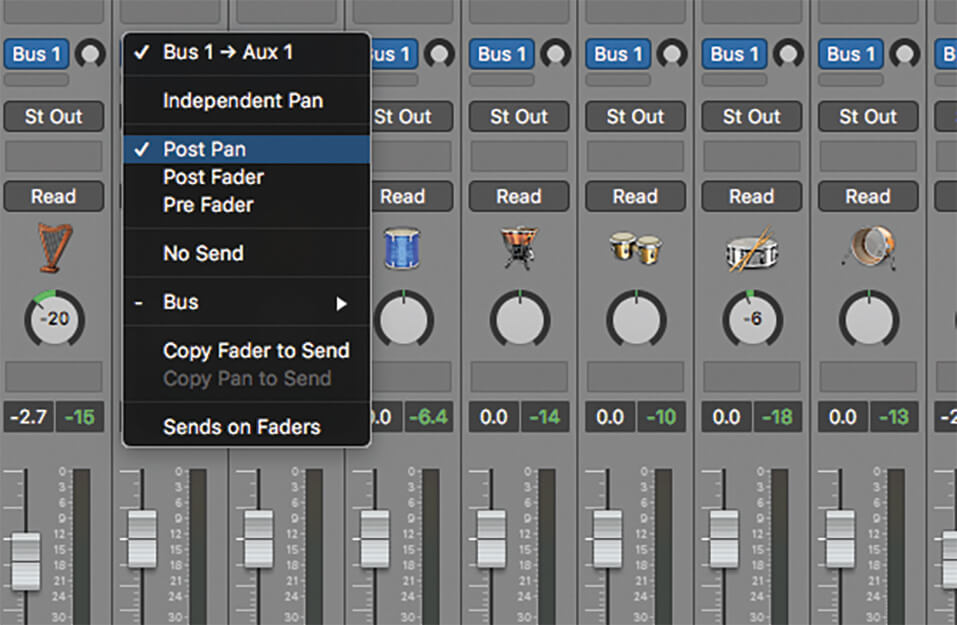
Bus (also spelt buss) sends and aux channels are an essential part of working with Logic’s mixer, covering everything from custom headphone mixes through to reverb and other forms of ‘parallel’ effects processing. Like many aspects of Logic, though, it’s easy to overlook the full functionality of what buses and aux channels have to offer, or indeed, the various new features that have been added to the use and application of bus sends and aux channels that can really aid your workflow.

In this workshop, therefore, we take a ‘back to basics’ look at what bus sends and aux channels can offer and why a more refined application can benefit your production.
Duplicate Screenset… — Logic Pro X keyboard command of the day

Logic Pro X keyboard command of the day. #LogicProX @StudioIntern1

  Duplicate Screenset…

Found in the “Screenset” menu — the number in the menu bar on the right.

Enter a number and a name. Modify new screenset to fit.

Screensets are very useful. Open windows, size them, position them, make the screen work for you. Save the settings, I tend to “lock” my screensets, and recall with the press of a key.

Create, recall, and switch screensets — Logic Pro X:

You position windows in a layout that suits the way you work. This layout of various windows, including their display size, zoom levels, position, and other settings, is called a screenset. Once defined, you can save, and freely switch between different screensets, much as you might between different computer displays.

The “Orchestral” template has a large number of screensets that show good examples of how to use them to your advantage.

One of the first online resources I found and paid for in my search for Logic tutorials was about using screensets.

Logic Studio Training — Logic Pro Tutorials:

Watch the Logic Pro X Quick Start Video Guide and learn how to use Logic Pro X in under 13 minutes. Enter your email address to watch!

⇧ SHIFT – ⌃ CONTROL – ⌥ OPTION – ⌘ COMMAND

Set Track and MIDI Thru Parameters by Region/Folder — Logic Pro X keyboard command of the day

Logic Pro X keyboard command of the day. #LogicProX @StudioIntern1

  Set Track and MIDI Thru Parameters by Region/Folder

This was hard to track down.

My current description is…with a region (or multiple regions) selected the command will set the defaults for track and MIDI regions to the settings of the selected region(s).

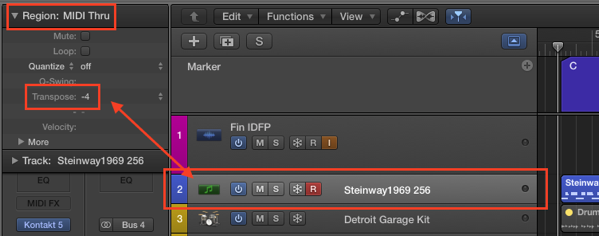
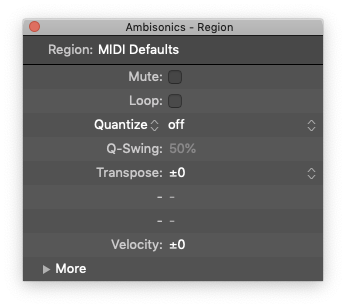
Much confusion occurred. Documentation refers to “MIDI Thru” as the region name. I have seen that. I tested the command and changed some MIDI defaults. Now the defaulted region is named “MIDI Defaults”. The latest documentation doesn’t reference “MIDI Thru” and uses the term defaults.

A “simpler” description is the region named “MIDI Thru” contains the MIDI settings that are applied to any MIDI coming in to Logic — like a MIDI Thru port — probably not the easiest thing for the non-MIDI generation to understand as the implication of the word “Thru”.

My Logic now reads “MIDI Defaults” — checking a different system to see what it looks like. My other Mac says “MIDI Defaults”. Following is an image from Apple…MIDI Thru Lives!

Region inspector — Logic Pro X:

The Region inspector shows parameters for the selected region or regions, including Quantize and other parameters. Some parameters are shared, while others are available for only audio or MIDI regions. There are additional advanced quantization parameters that you can view and edit by clicking the More disclosure triangle.

You can also open the Region inspector in a separate floating window.

⇧ SHIFT – ⌃ CONTROL – ⌥ OPTION – ⌘ COMMAND

MIDI Thru Lives!

1/8 Page Right — Logic Pro X keyboard command of the day

Logic Pro X keyboard command of the day. #LogicProX @StudioIntern1

  1/8 Page Right

Move the visible part of the current page in the Score Editor.

As far as I can tell “1/8 page” is 1/8 of the visible score. If your visible score is 8 bars wide then you can move the score a bar at a time. Handy.

Score layout overview — Logic Pro X:

You should use Linear Score view for editing, as screen redraws are much faster, especially on slower computers.

Notation overview — Logic Pro X:

You can view MIDI regions in software instrument (and external MIDI instrument) tracks as music notation in the Score Editor. Notes and other musical events are displayed as standard notation, along with common symbols such as time and key signature, bar lines, and clef signs. You can add and edit notes, add sustain pedal markings and other symbols, and print the score.

⇧ SHIFT – ⌃ CONTROL – ⌥ OPTION – ⌘ COMMAND