Region Automation: Pitch Bend — Logic Pro X keyboard command of the day

Logic Pro X keyboard command of the day. #LogicProX @StudioIntern1

  Region Automation: Pitch Bend

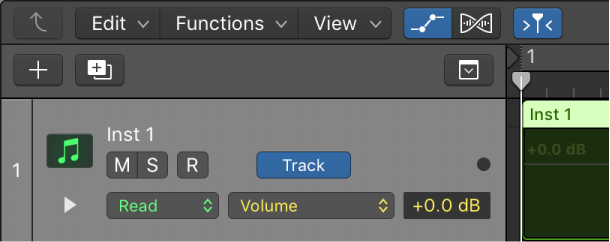
One of the nice things about region automation is the ability to create MIDI events (they show up in the event list) using the pencil tool while working in the track/region context. Editing without using the Piano Roll or Event List.

Region-based vs. track-based automation — Logic Pro X

Logic Pro offers two types of automation: track-based automation, and region-based automation. Track-based automation can be applied to the entire track, from the beginning to the end of your project. Region-based automation only applies to the specific region the automation parameters are connected to. With track-based automation, if you re-record, move or copy regions (either to another point on the same track, or to another track) the automation data remains tied to the initial point on the track in which it was created. With region-based automation, if you re-record the region, the automation is lost; if you move or copy the region (either to another point on the same track, or to another track) the automation remains with the region. Region-based automation is particularly useful when you are automating instrument parameters.

Show automation curves — Logic Pro X

Before you can add automation points to a track’s automation curves, you need to show the automation curves. Automation curves are displayed as colored curves and points on top of audio and MIDI regions across the track, running the length of the project. You can choose whether to view and edit automation across the track (track-based automation) or only within the track’s regions (region-based automation).

⇧ SHIFT – ⌃ CONTROL – ⌥ OPTION – ⌘ COMMAND
Go to Marker Number 13 — Logic Pro X keyboard command of the day

Logic Pro X keyboard command of the day. #LogicProX @StudioIntern1

  Go to Marker Number 13

Another of the numbered marker commands. Not happening for me. I name my markers or use the forward/backward marker commands and buttons on the X-Touch.

Markers overview — Logic Pro X

There are several ways to create and edit markers in Logic Pro. You can view and edit markers in the following work areas:

Navigate using markers — Logic Pro X

You can navigate through your project using markers. This is useful when you want to quickly jump to, and edit, regions or events at a specific position in your project, for example.

⇧ SHIFT – ⌃ CONTROL – ⌥ OPTION – ⌘ COMMAND

Open Articulation Editor — Logic Pro X keyboard command of the day

Logic Pro X keyboard command of the day. #LogicProX @StudioIntern1

  Open Articulation Editor

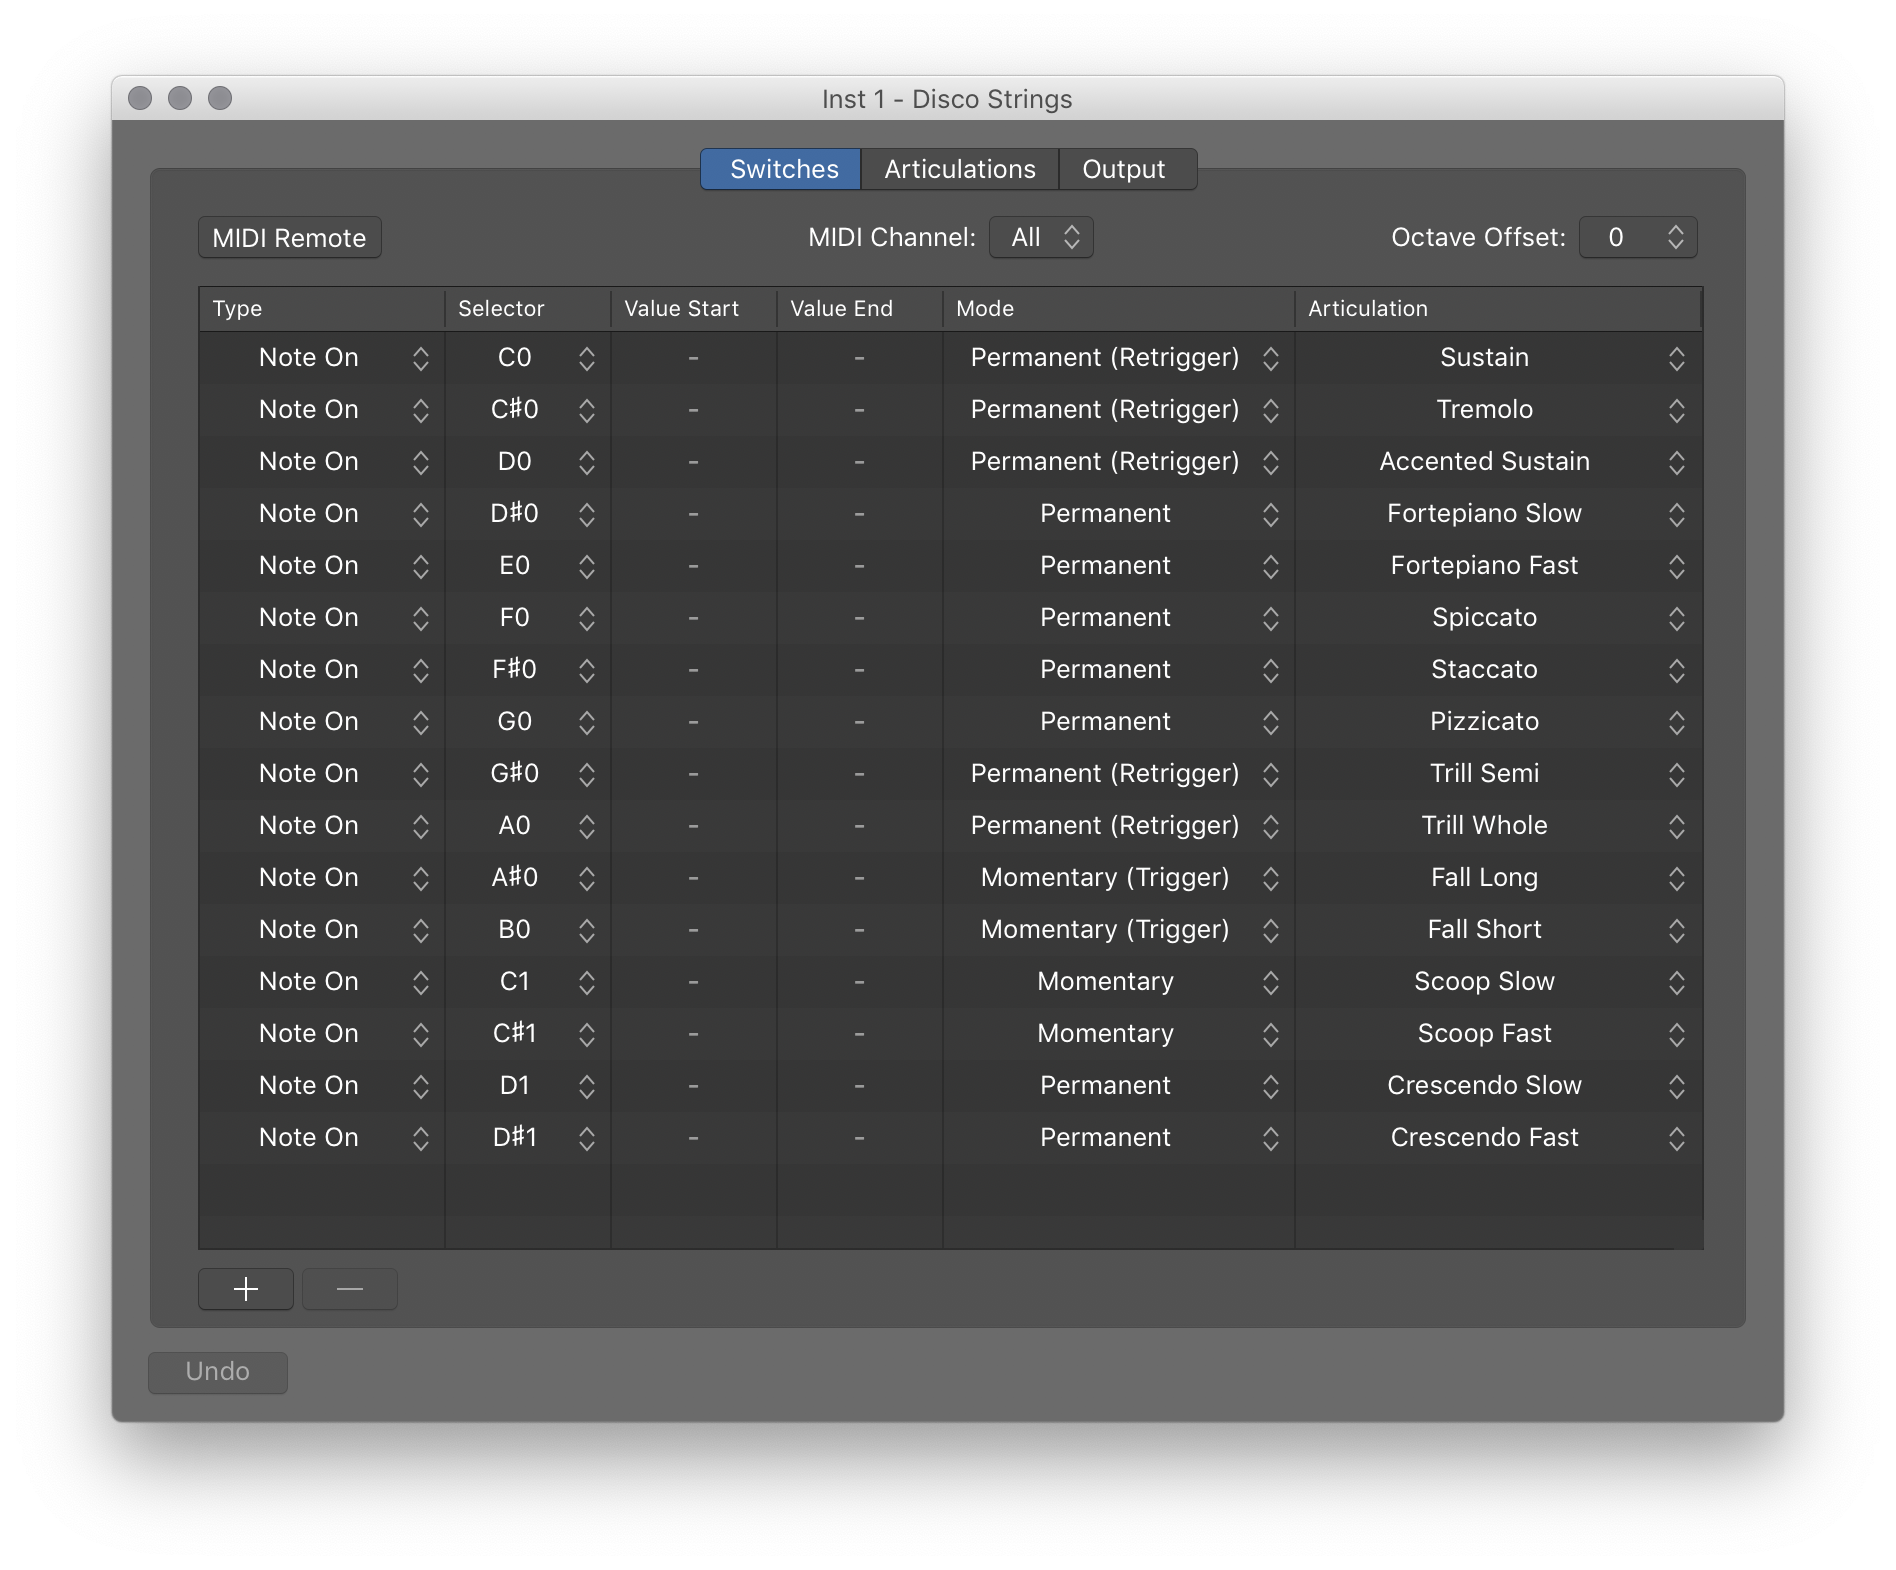
Articulations are what is used to achieve full, rich sounds from sampled instruments. This is the part that is often not written in the score.

I have a number of instruments where articulation is key — Studio Strings and Studio Horns in Logic, sundry in SampleTank 4, and most instruments in Miroslav Philharmonik.

It’s rather complicated to program. It’s a matter of practice to use switches — memorize each. It’s a matter of taste.

Articulation editing overview — Logic Pro X

Sampled instruments that emulate real instruments often allow you to switch between the unique playing techniques that the real instrument is capable of. These playing techniques are called articulations in Logic Pro. Each articulation will be identified with a unique Articulation ID. For example, a sampled violin instrument might offer articulations to switch between tremolo, pizzicato, and sustained notes, while a sampled horn instrument might include articulations for sustained and staccato notes, trills, and falls.

⇧ SHIFT – ⌃ CONTROL – ⌥ OPTION – ⌘ COMMAND

Unhide All Tracks ⌃⇧H — Logic Pro X keyboard command of the day

Logic Pro X keyboard command of the day. #LogicProX @StudioIntern1

  Unhide All Tracks    ⌃⇧H

Clear the “hide” track setting and show all tracks that were hidden. Simple, handy.

Hide tracks — Logic Pro X

You can hide and unhide tracks using the menu commands in the Track menu (Hide Track, Unhide All Tracks, and Show Hidden Tracks), or using key commands. The first time you hide a track, you use the key command, after which the Hide button appears above the track headers.

⇧ SHIFT – ⌃ CONTROL – ⌥ OPTION – ⌘ COMMAND

Region Automation: Program Change — Logic Pro X keyboard command of the day

Logic Pro X keyboard command of the day. #LogicProX @StudioIntern1

  Region Automation: Program Change

One of the vast array of things that can be automated.

I thought things might get confusing if there were program change events in a region and automation was used to make a program change. No, it’s not. The “automation” is accomplished with Program Change events. If you create an automation point the event is inserted in the region.

The Region Automation commands as found in the Key Commands are not the only things that can be automated. Any MIDI event can be programmed for any channel. It’s a different way of adding events to the MIDI region.

Region-based vs. track-based automation — Logic Pro X

Logic Pro offers two types of automation: track-based automation, and region-based automation. Track-based automation can be applied to the entire track, from the beginning to the end of your project. Region-based automation only applies to the specific region the automation parameters are connected to. With track-based automation, if you re-record, move or copy regions (either to another point on the same track, or to another track) the automation data remains tied to the initial point on the track in which it was created. With region-based automation, if you re-record the region, the automation is lost; if you move or copy the region (either to another point on the same track, or to another track) the automation remains with the region. Region-based automation is particularly useful when you are automating instrument parameters.

Show automation curves — Logic Pro X

Before you can add automation points to a track’s automation curves, you need to show the automation curves. Automation curves are displayed as colored curves and points on top of audio and MIDI regions across the track, running the length of the project. You can choose whether to view and edit automation across the track (track-based automation) or only within the track’s regions (region-based automation).

⇧ SHIFT – ⌃ CONTROL – ⌥ OPTION – ⌘ COMMAND
Command    Key Touch Bar
- Views Showing Time Ruler
Region Automation: Volume
Region Automation: Panorama
Region Automation: Balance
Region Automation: Modulation
Region Automation: Breath
Region Automation: Foot Control
Region Automation: Portamento Time
Region Automation: Expression
Region Automation: Sustain Pedal
Region Automation: Control Change 20
Region Automation: Control Change 21
Region Automation: Control Change 22
Region Automation: Control Change 23
Region Automation: Control Change 24
Region Automation: Control Change 25
Region Automation: Control Change 26
Region Automation: Control Change 27
Region Automation: Control Change 28
Region Automation: Control Change 29
Region Automation: Control Change 30
Region Automation: Control Change 31
Region Automation: Control Change 32
Region Automation: Surround Angle
Region Automation: Surround Diversity
Region Automation: Surround LFE
Region Automation: Channel Pressure
Region Automation: Pitch Bend
Region Automation: Program Change
Region Automation: Note Velocity