Create 1 Track Automation Point for Visible Parameter — Logic Pro X keyboard command of the day

  Create 1 Track Automation Point for Visible Parameter

Creates one automation point. A single automation point is typically used to set a level or a value for the entire track.

You can easily add an automation point, assuming automation lanes are visible, by clicking in the track.

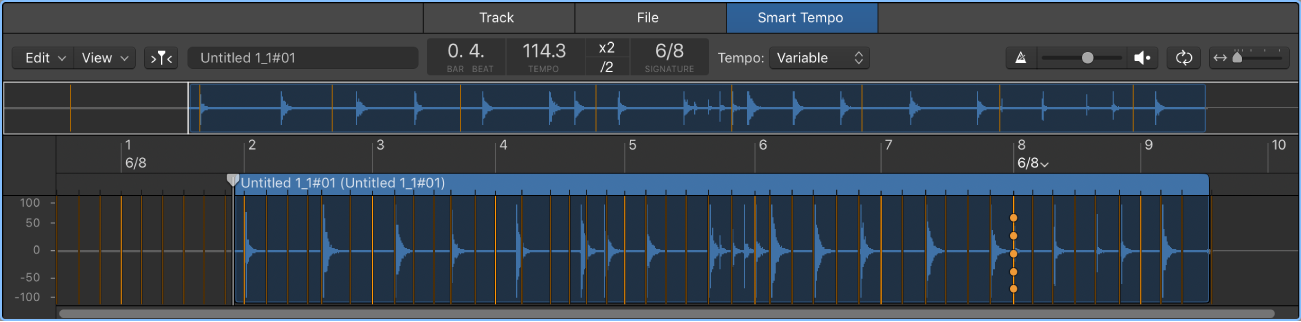
The commands do not work if automation is hidden.

Add and adjust automation points in Logic Pro — Apple Support

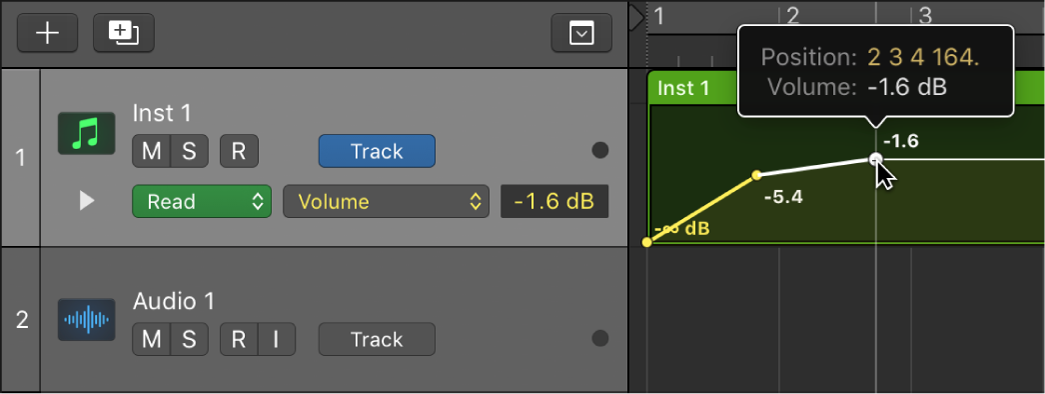
To add an automation point to an empty automation curve: Click anywhere in the automation track.
This adds an automation point at the project start position, using the current fader value.

 Command Key Touch Bar

- Main Window Tracks
Create 1 Track Automation Point at Region Borders ⌃⇧⌘1
Create 1 Track Automation Point at Every Region Border ⌃⌘1
Create 1 Track Automation Point each for Volume, Pan, Sends
Create 1 Track Automation Point for Visible Parameter

Cycle Through Windows ⌘` — Logic Pro X keyboard command of the day

  Cycle Through Windows    ⌘`

Bring windows to the foreground. The command will cycle through all of the windows that are open in the current screenset. Once a window is open the ‘Cycle Through Window Views’ (tab key) can be used to shift the keyboard focus to the desired section of the window.

The ‘Window Views’ command seems mostly useful in the Arrange window with multiple panes. The pane in focus is surrounded by a blue-line border.

Open and close Logic Pro windows — Apple Support

In Logic Pro, choose Window > Cycle Through Windows (or use the corresponding key command).
This command assigns key focus to the next open window, if it is fully obscured by other windows.
You can also cycle through working areas using Tab (cycles forward) and Shift-Tab (cycles backward).

Command    Key Touch Bar
- Global Commands
Cycle Through Windows ⌘`
Cycle Through Windows (counter-clockwise) ⇧⌘`
Cycle Through Window Views ⇥
Cycle Through Window Views (counter-clockwise) ⇧⇥

Select Next Region/Cell on Focused Track → — Logic Pro X keyboard command of the day

  Select Next Region/Cell on Focused Track   →

Selects the next region on the focused track. The concept of the focused track is important. It is quite possible to have a region selected on a track that is _not_ the focused track. Using this command can cause some confusion if you are not focused 😉

Simply, pay attention to which track is highlighted when navigating and executing commands.

The concept of _focused_ tracks is gently introduced, without a significant discussion of what that really means.

Select tracks in Logic Pro — Apple Support

You can select multiple tracks. When multiple tracks are selected, the first selected track is the focused track. Some operations, such as choosing a patch in the Library, only affect the focused track when multiple tracks are selected.

When multiple tracks are selected, the track number of the focused track also appears selected (lighter gray color) on the left edge of the track header, unlike the other selected tracks.

Waveform Vertical Zoom x 4 — Logic Pro X keyboard command of the day

  Waveform Vertical Zoom x 4

Set the visual display of the waveform to 4 times standard. You can set the waveform to a maximum of 8 times normal.

Using the ‘Waveform Vertical Zoom In/Out” commands allows for smaller adjustments. Waveforms have 16 visual levels, meaning you can increase in 15 steps.

Far too many people make determinations of how loud things are by looking at waveforms. I find it difficult to discuss levels with these people. The waveform display is an aid to finding transients and relative levels…specific levels should be determined in different ways — who knows what the scale is…

Scroll Left ← — Logic Pro X keyboard command of the day

  Scroll Left    ←

Scroll the focused area to the left.

Work in the Logic Pro Smart Tempo Editor — Apple Support

Scroll and zoom in the Smart Tempo Editor

In Logic Pro, do any of the following:

  • Press the Left Arrow to scroll left.
  • Press the Right Arrow to scroll right.
  • Press the Up Arrow to zoom out so that the entire audio file or MIDI region is visible.
  • Press the Down Arrow to zoom in incrementally until the pointer is centered in the main display.