link2033 link2034 link2035 link2036 link2037 link2038 link2039 link2040 link2041 link2042 link2043 link2044 link2045 link2046 link2047 link2048 link2049 link2050 link2051 link2052 link2053 link2054 link2055 link2056 link2057 link2058 link2059 link2060 link2061 link2062 link2063 link2064 link2065 link2066 link2067 link2068 link2069 link2070 link2071 link2072 link2073 link2074 link2075 link2076 link2077 link2078 link2079 link2080 link2081 link2082 link2083 link2084 link2085 link2086 link2087 link2088 link2089 link2090 link2091 link2092 link2093 link2094 link2095 link2096 link2097 link2098 link2099 link2100 link2101 link2102 link2103 link2104 link2105 link2106 link2107 link2108 link2109 link2110 link2111 link2112 link2113 link2114 link2115 link2116 link2117 link2118 link2119 link2120 link2121 link2122 link2123 link2124 link2125 link2126 link2127 link2128 link2129 link2130 link2131 link2132 link2133 link2134 link2135 link2136 link2137 link2138 link2139

5 Different Ways to Use Software Compressors — Audient

5 Different Ways to Use Software Compressors — Audient

If you asked a room full of audio engineer students what a compressor does, you’d probably get a wide range of responses. “It’s the thing that makes tracks louder!” one may claim. “It’s that plugin David Guetta uses to make his synths pump!” another might say. Is there a single answer? Technically speaking, compressors simply reduce the dynamic range of a signal. Depending on their settings and application, however, compressors can be incredibly useful in a variety of situations. For this tutorial, we’ll be using Ableton’s stock compressors, but any basic software compressor will do. Here are 5 common uses of compressors:

Crop Regions outside Locators or Marquee Selection ⌘\ ⌘3⃣ — Logic Pro X keyboard command of the day

Logic Pro X keyboard command of the day. #LogicProX @StudioIntern1

  Crop Regions outside Locators or Marquee Selection ⌘\  ⌘3⃣

undocumented command. There are many fine points about regions and how to work with them. They are only documented in the Logic Pro 9 manuals. Time to read Chapter 13 of the Logic Pro 9 manual.

Logic Pro 9 User Manual: Selecting Regions

This action removes all unselected areas from regions which are partly marquee-selected.

Logic Pro 9 User Manual: Creating Your Arrangement

Once you have added your audio and MIDI regions to the Arrange area, you can edit and reorganize them to create an overall arrangement, or project. Most arranging and editing techniques work identically for both audio and MIDI regions. Apple Loops are also handled in a similar fashion. Where handling differs, variations are pointed out in the appropriate sections of this chapter. Note that all operations described with a pluralized heading (regions, for example), apply to one or more selected region(s).

⇧ SHIFT – ⌃ CONTROL – ⌥ OPTION – ⌘ COMMAND
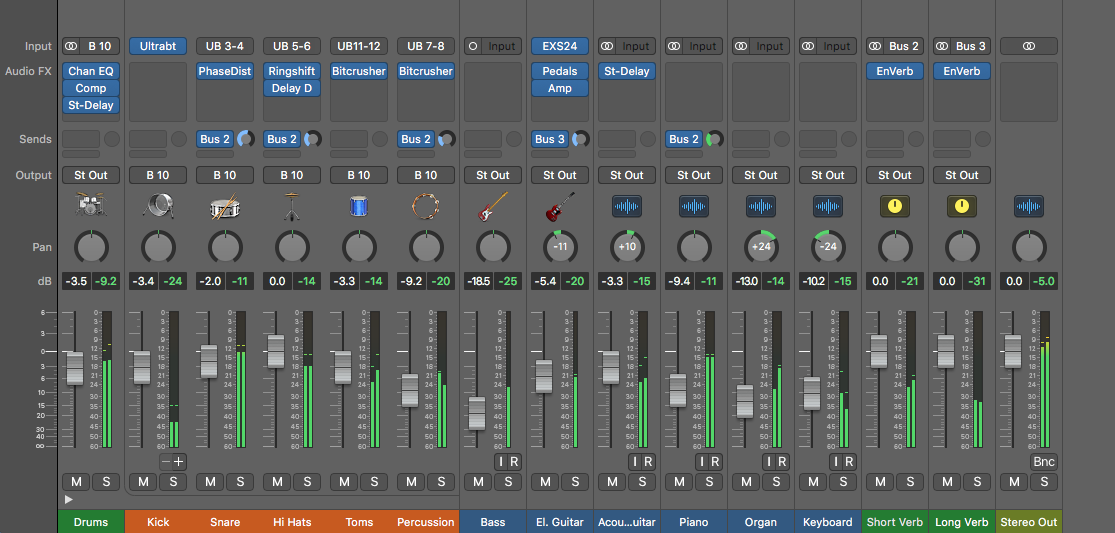
9 Tips for Using Reverb with Drums

9 Tips for Using Reverb with Drums

by Nick Messitte, iZotope Contributor August 20, 2019

Some of the reverbs we’ll be working with today
Your drums sound narrow, dry, and small. You need them to sound bigger, so you send them to a concert-hall reverb. That’ll do the trick, right? Probably not. Now all you have are small, narrow drums surrounded by a lot of incongruous reverb.