Logic Pro X keyboard command of the day. #LogicProX @StudioIntern1
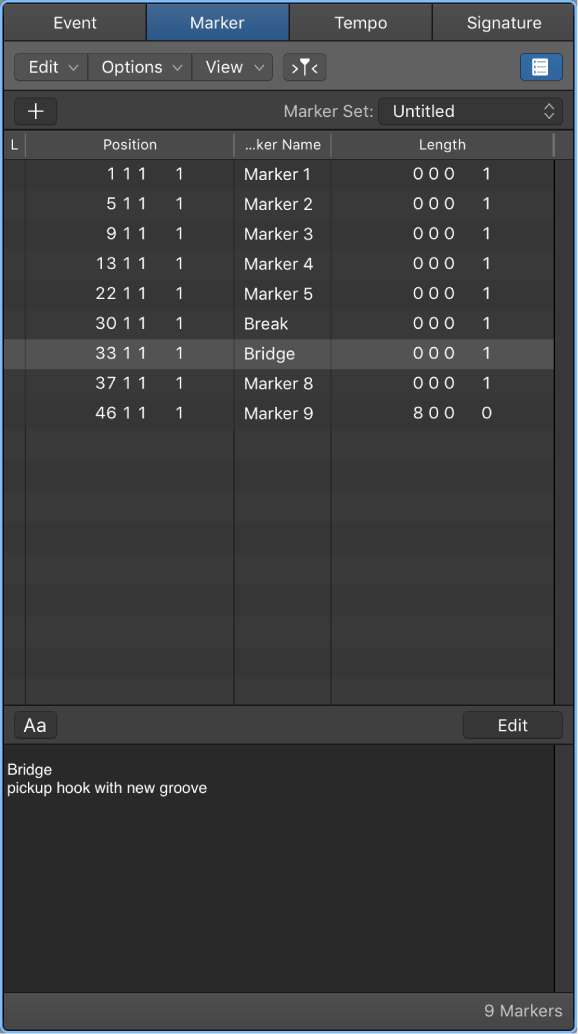
Open Marker Text
This opens the text window at the bottom of the Marker list. It would be even more fun if it would open the window AND let you start entering text. That is not to be.
For workflow — during an initial listen to a mix it can be very helpful to set markers at points of interest. Distraction of the visual interface is not a good thing.
Create a marker — ⌥’
Now rename the marker — ⇧’
and start typing the note. A carriage return closes off the text. Don’t worry about the display!
For purposes of cross-DAW work you can create a MIDI file that contains *LOTS* of useful information.
Create an external MIDI track (or have one in your template) and insert any *real* MIDI event.
If you now export all MIDI tracks to a MIDI file the MIDI file will contain tempo, key signature, and all of the markers.
Markers overview — Logic Pro X
Markers can help you organize your project, and also act as storage areas for locator positions.
⇧ SHIFT – ⌃ CONTROL – ⌥ OPTION – ⌘ COMMAND