Set Marquee Tool ⌥2⃣ — Logic Pro X keyboard command of the day

Logic Pro X keyboard command of the day. #LogicProX @StudioIntern1

  Set Marquee Tool   ⌥2⃣

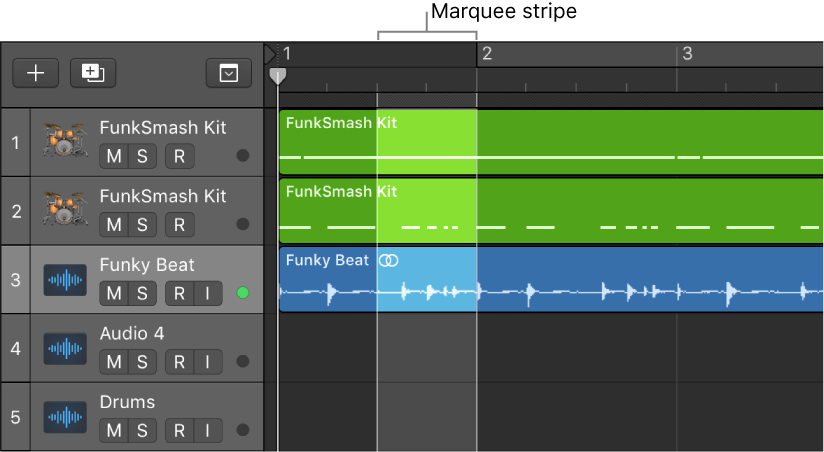
A predefined way to turn on the Marquee tool. I currently have Logic set to switch to the Marquee tool when the cursor is in the lower half of a track (upper half for Fade tool).

I should remember to switch the command-tool to something other than Marquee.

Previously posted here.

The Marquee Tool — Logic Pro X — learning at the elbow of the internet

I keep trying to use the marquee tool to make things easier. I keep forgetting.

Select parts of regions in the Tracks area — Logic Pro X

Only the part of the region inside the marquee is selected, letting you select inside, or across portions of, regions. You can perform most edits, such as moving, cutting, copying, and deleting, in the selected area. After editing, the selected area becomes a new, separate region. The marquee selection uses the current Tracks area Snap value.

If you play a project after making a marquee selection, playback starts at the left edge of the selection, and ends at the right edge. If you create a marquee selection while the project is playing, playback continues past the end of the selection.

If you start recording after making a marquee selection, Autopunch mode is activated, and the marquee selection is replaced by the punch locators. All tracks within the marquee selection are record-enabled, and all other tracks are record-disabled.

⇧ SHIFT – ⌃ CONTROL – ⌥ OPTION – ⌘ COMMAND
Apply Transform User Preset 3 to selected Events — Logic Pro X keyboard command of the day

Logic Pro X keyboard command of the day. #LogicProX @StudioIntern1

  Apply Transform User Preset  3 to selected Events

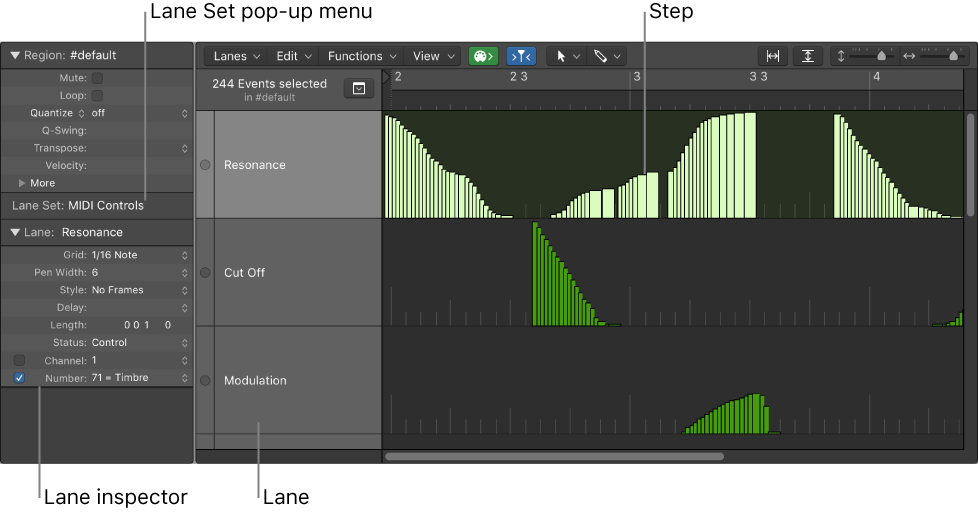
The MIDI Transform window can be opened from the Window menu, or by entering ‘⌘9’. There are 30 ‘Apply Transform User Preset … to selected Events’.

Use transform sets — Logic Pro X:

1. Choose Create New Transform Set from the Presets pop-up menu.

2. Set conditions and operations.

3. Select the “Hide unused parameters” checkbox. This helps to avoid changes to conditions and operations that aren’t required for (or may disturb) your transform set.

4. Choose New Parameter Set (Number) from the Presets pop-up menu. Enter a new name for your transform set.

This transform set now appears at the bottom of the Presets list in all MIDI Transform windows for this project. You should consider saving your user transform sets in one or more template projects. This way, they are always available to you in all future projects.

Tip: Renaming an existing transform set creates a new transform set that is identical to the original. The existing (source) transform set is retained.

⇧ SHIFT – ⌃ CONTROL – ⌥ OPTION – ⌘ COMMAND
Edit Project Alternatives — Logic Pro X keyboard command of the day

Logic Pro X keyboard command of the day. #LogicProX @StudioIntern1

  Edit Project Alternatives

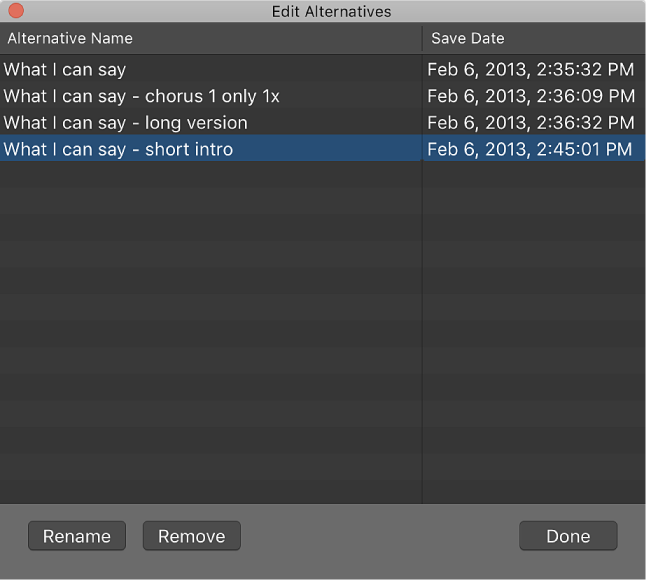
Rename or delete alternatives. I find alternatives to be very useful dealing with sets of recorded music. Each song in a set gets it’s own alternative.

Use project alternatives and backups — Logic Pro X

When Show Advanced Tools is selected in the Advanced preferences pane, you can create alternative versions of a project, each with a unique name and different settings. Project alternatives let you save “snapshots” of a project in different states, including different cuts or mixes. They’re saved as part of the project and share the same assets. Alternatives for the current project appear in the File > Project Alternatives submenu.

Backups let you go back to earlier saved versions of a project. Each time you save a project using the File > Save menu item (or pressing Command-S), a version of the current project alternative is saved (up to ten backups per alternative). In the Project > Revert to submenu, backups for the current alternative are listed in descending order from newest to oldest.

⇧ SHIFT – ⌃ CONTROL – ⌥ OPTION – ⌘ COMMAND
Rest ˽ — Logic Pro X keyboard command of the day

Logic Pro X keyboard command of the day. #LogicProX @StudioIntern1

  Rest    ˽

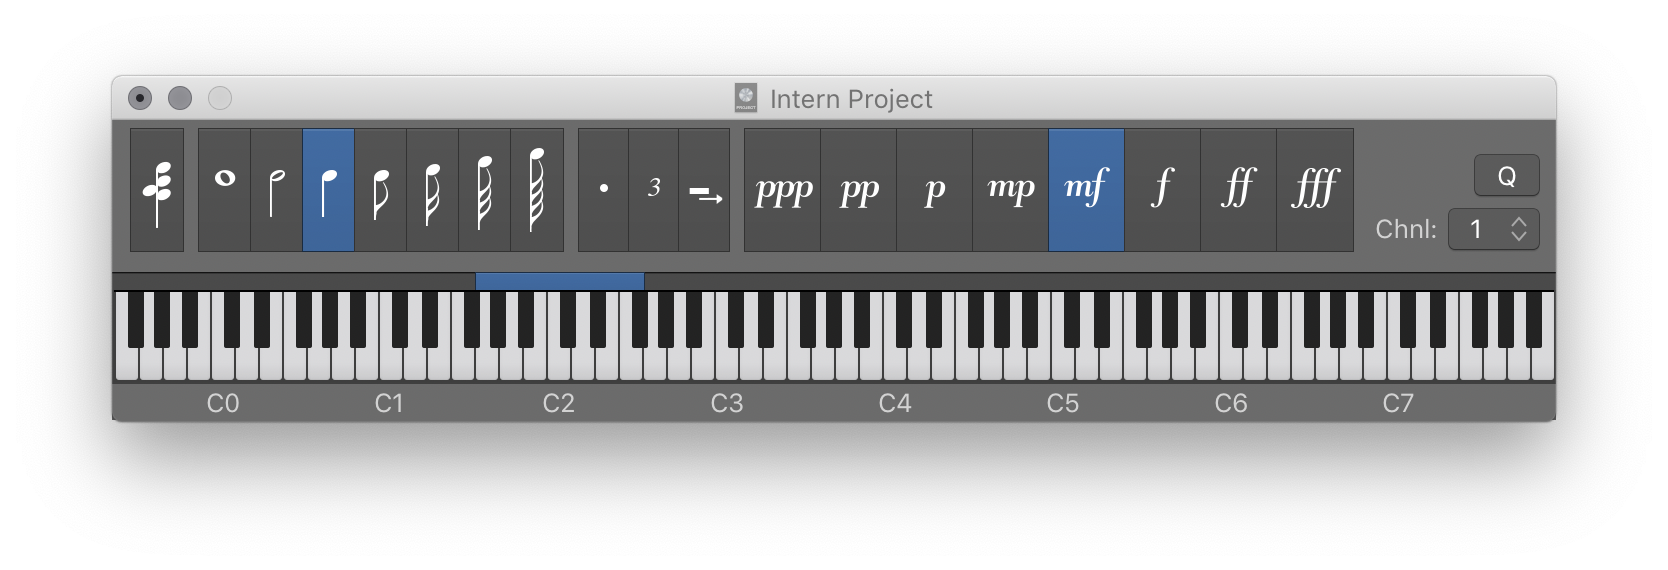
It’s a great idea to rest. When using the Step Input keyboard you insert a rest by pressing the space bar. The rest will be chosen by the note value selected in the upper part of the keyboard.

Use step input recording techniques — Logic Pro X

Step input allows you to insert MIDI notes when you’re not recording in real time. You can use step input to create note runs that may be too fast for you to play or to replicate sheet music that’s too difficult for you to play.

⇧ SHIFT – ⌃ CONTROL – ⌥ OPTION – ⌘ COMMAND