Audio Dynamics 101: Compressors, Limiters, Expanders, and Gates

Audio Dynamics 101: Compressors, Limiters, Expanders, and Gates:

In this article, we’ll demystify the compressor and other dynamics processors. We’ll cover the four main types of plug-ins used to control dynamics: limiters, compressors, expanders, and gates. We’ll discuss the mathematical processes behind these tools, how they affect the sound, and the best scenarios in which to use them.

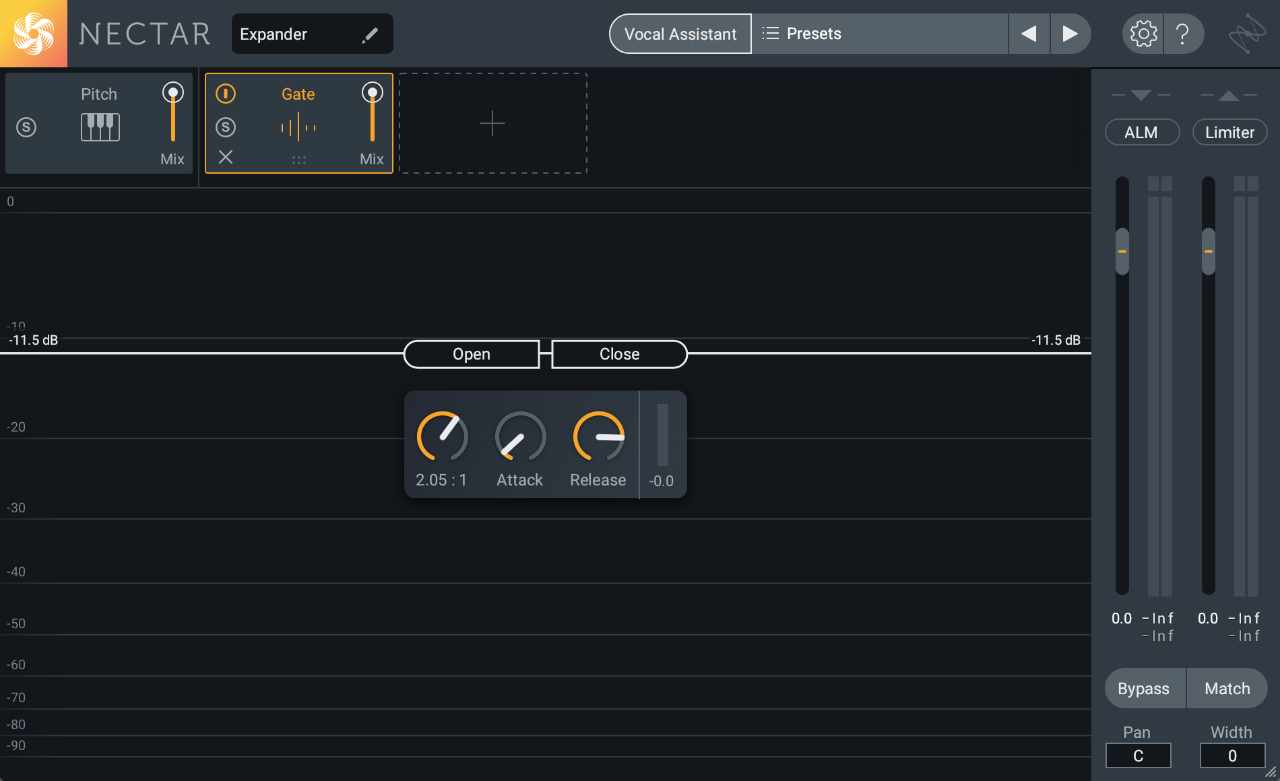
Expanders are my least understood tool. Gates are kind of troublesome as well. This is a good description of what they do.

Octave 5 — Logic Pro X keyboard command of the day

Logic Pro X keyboard command of the day. #LogicProX @StudioIntern1

  Octave 5

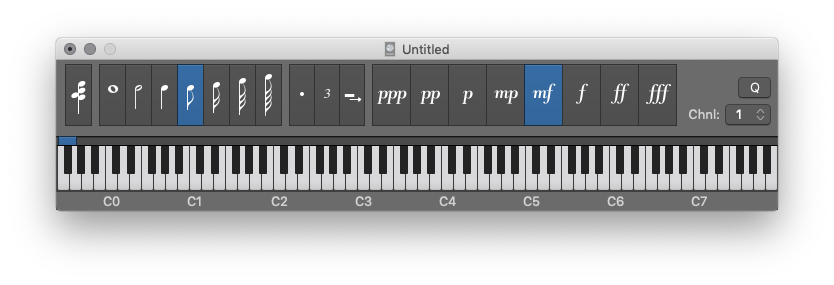
Change the step input keyboard focus to Octave 5. Not much call for that if the keyboard is showing on the display. Far more likely to use the shift octave commands.

Octave - 2  Shift-Z
 
Octave - 1 Z
 
Octave + 1 X
 
Octave + 2 Shift-X

Use step input recording techniques — Logic Pro X:

Step input allows you to insert MIDI notes when you’re not recording in real time. You can use step input to create note runs that may be too fast for you to play or to replicate sheet music that’s too difficult for you to play.

⇧ SHIFT – ⌃ CONTROL – ⌥ OPTION – ⌘ COMMAND

Region Automation: Control Change 25 — Logic Pro X keyboard command of the day

Logic Pro X keyboard command of the day. #LogicProX @StudioIntern1

  Region Automation: Control Change 25

Set the region automation to CC25. With automation being displayed (press ‘A’ on the keyboard) you will typically see “Track” automation. Click on the “Track” button to change to region. There is also an on/off control button as well.

I am not sure of what “Region Automation” is all about. Ahh. Now it makes sense. Sound in space over time. A remarkably complex programming space. I simply need to re-think my programming methods. Parallel programs with function calls tied to time points as opposed to simply being interrupt driven. I need to meditate.

Show automation curves — Logic Pro X:

Before you can add automation points to a track’s automation curves, you need to show the automation curves. Automation curves are displayed as colored curves and points on top of audio and MIDI regions across the track, running the length of the project. You can choose whether to view and edit automation across the track (track-based automation) or only within the track’s regions (region-based automation).

⇧ SHIFT – ⌃ CONTROL – ⌥ OPTION – ⌘ COMMAND
EQ Cheat Sheet: Simple Guidelines for Effective Equalization — Produce Like A Pro

EQ Cheat Sheet: Simple Guidelines for Effective Equalization — Produce Like A Pro:

Understanding equalization–probably the most widely used signal processor available to engineers–is essential to making records sound their absolute best. Sometimes it’s as simple as high-passing an instrument in the proper spot, while other cases require a bit more attention and precision. Either way, EQ is fundamental to making mix elements sound more or less defined, larger or smaller, or “better” versus “different.” Having a general reference like an EQ cheat sheet will help get you where you want to go more quickly.

In response to a request at the Produce Like a Pro Academy I went hunting for some easy to access cheatsheets. This is one of a few.