Send Selected Fader Values ⌃V — Logic Pro X keyboard command of the day

Logic Pro X keyboard command of the day. #LogicProX @StudioIntern1

  Send Selected Fader Values ⌃V

Cause the selected faders to send their current values. Used in the MIDI Environment. Not at all sure if this is done behind the scenes for any Logic Pro X actions.

Special functions — Logic Pro X

Sending fader values: Choose Options > Send All Fader Values (or use the Send All Current Fader Values keyboard shortcut) to make all fader objects send their current values. Choose Options > Send Selected Fader Values to make all selected fader objects send their current values.

⇧ SHIFT – ⌃ CONTROL – ⌥ OPTION – ⌘ COMMAND

Set Quantize Tool — Logic Pro X keyboard command of the day

Logic Pro X keyboard command of the day. #LogicProX @StudioIntern1

  Set Quantize Tool

Set the primary tool to Quantize. Available in the Piano Roll editor and the Score Editor.

You can set the Quantize tool by typing ‘TQ’ in the appropriate editor. The ‘T’ opens the tool selection menu, the ‘Q’ chooses the Quantize tool. Return to the Pointer tool by typing ‘TT’.

Quantize the timing of notes in the Piano Roll Editor — Logic Pro X

You can quantize, or automatically correct, the timing of individual MIDI notes in the Piano Roll Editor. This is useful when regions in the track contain the right notes, but are not perfectly in time with the project. When you quantize the timing, items are adjusted to the selected note value. You can quantize the timing of regions with drums, single-note instruments, and chordal or polyphonic instruments.

⇧ SHIFT – ⌃ CONTROL – ⌥ OPTION – ⌘ COMMAND

Play from Previous Bar — Logic Pro X keyboard command of the day

Logic Pro X keyboard command of the day. #LogicProX @StudioIntern1

  Play from Previous Bar

Starts playback from the previous bar.

I think I need to investigate punch-in and punch-out. My assumption is that I could set the punch locators for a bar — say bar 12 — then use ‘Play from Previous Bar’ to start playback. Homework.

For software instruments you need to overdub.

Use transport key commands — Logic Pro X

Play from Previous Bar: Starts playback at the start of the previous bar.

Punch in and out of audio recordings — Logic Pro X

Punch recording is a technique you can use to overwrite a portion of a previously recorded track, during playback, without touching any of the recording before or after that portion. You punch in to interrupt playback and make the recording, then punch out to return to playback mode. You can choose between two punch recording modes: Quick Punch-In mode and Autopunch mode.

Overdub software instrument recordings — Logic Pro X

Overdubbing is the process of recording a performance on top of an existing performance, merging them into a single region. You can use this process to add a supplementary recorded sound to a previously recorded performance, for example. You can also use spot erase to remove any unwanted notes from a recorded performance.

⇧ SHIFT – ⌃ CONTROL – ⌥ OPTION – ⌘ COMMAND

Command    Key Touch Bar
- Global Commands
Stop or Play From Last Position
Play from Beginning
Play from Previous Bar ⌃⌥⇧⌘⌦
Play from Left Locator
Play from Right Locator
Play from Left Window Edge ⇧⌅
Play from Selection ⇧˽ 2⃣

- Audio File Editor
Play/Stop Region from Anchor ⌃⇧→

- Smart Tempo Editor
Select from Start to Playhead ⇧←
Select from Playhead to End ⇧→
Toggle Channel Strip Arpeggiator — Logic Pro X keyboard command of the day

Logic Pro X keyboard command of the day. #LogicProX @StudioIntern1

  Toggle Channel Strip Arpeggiator

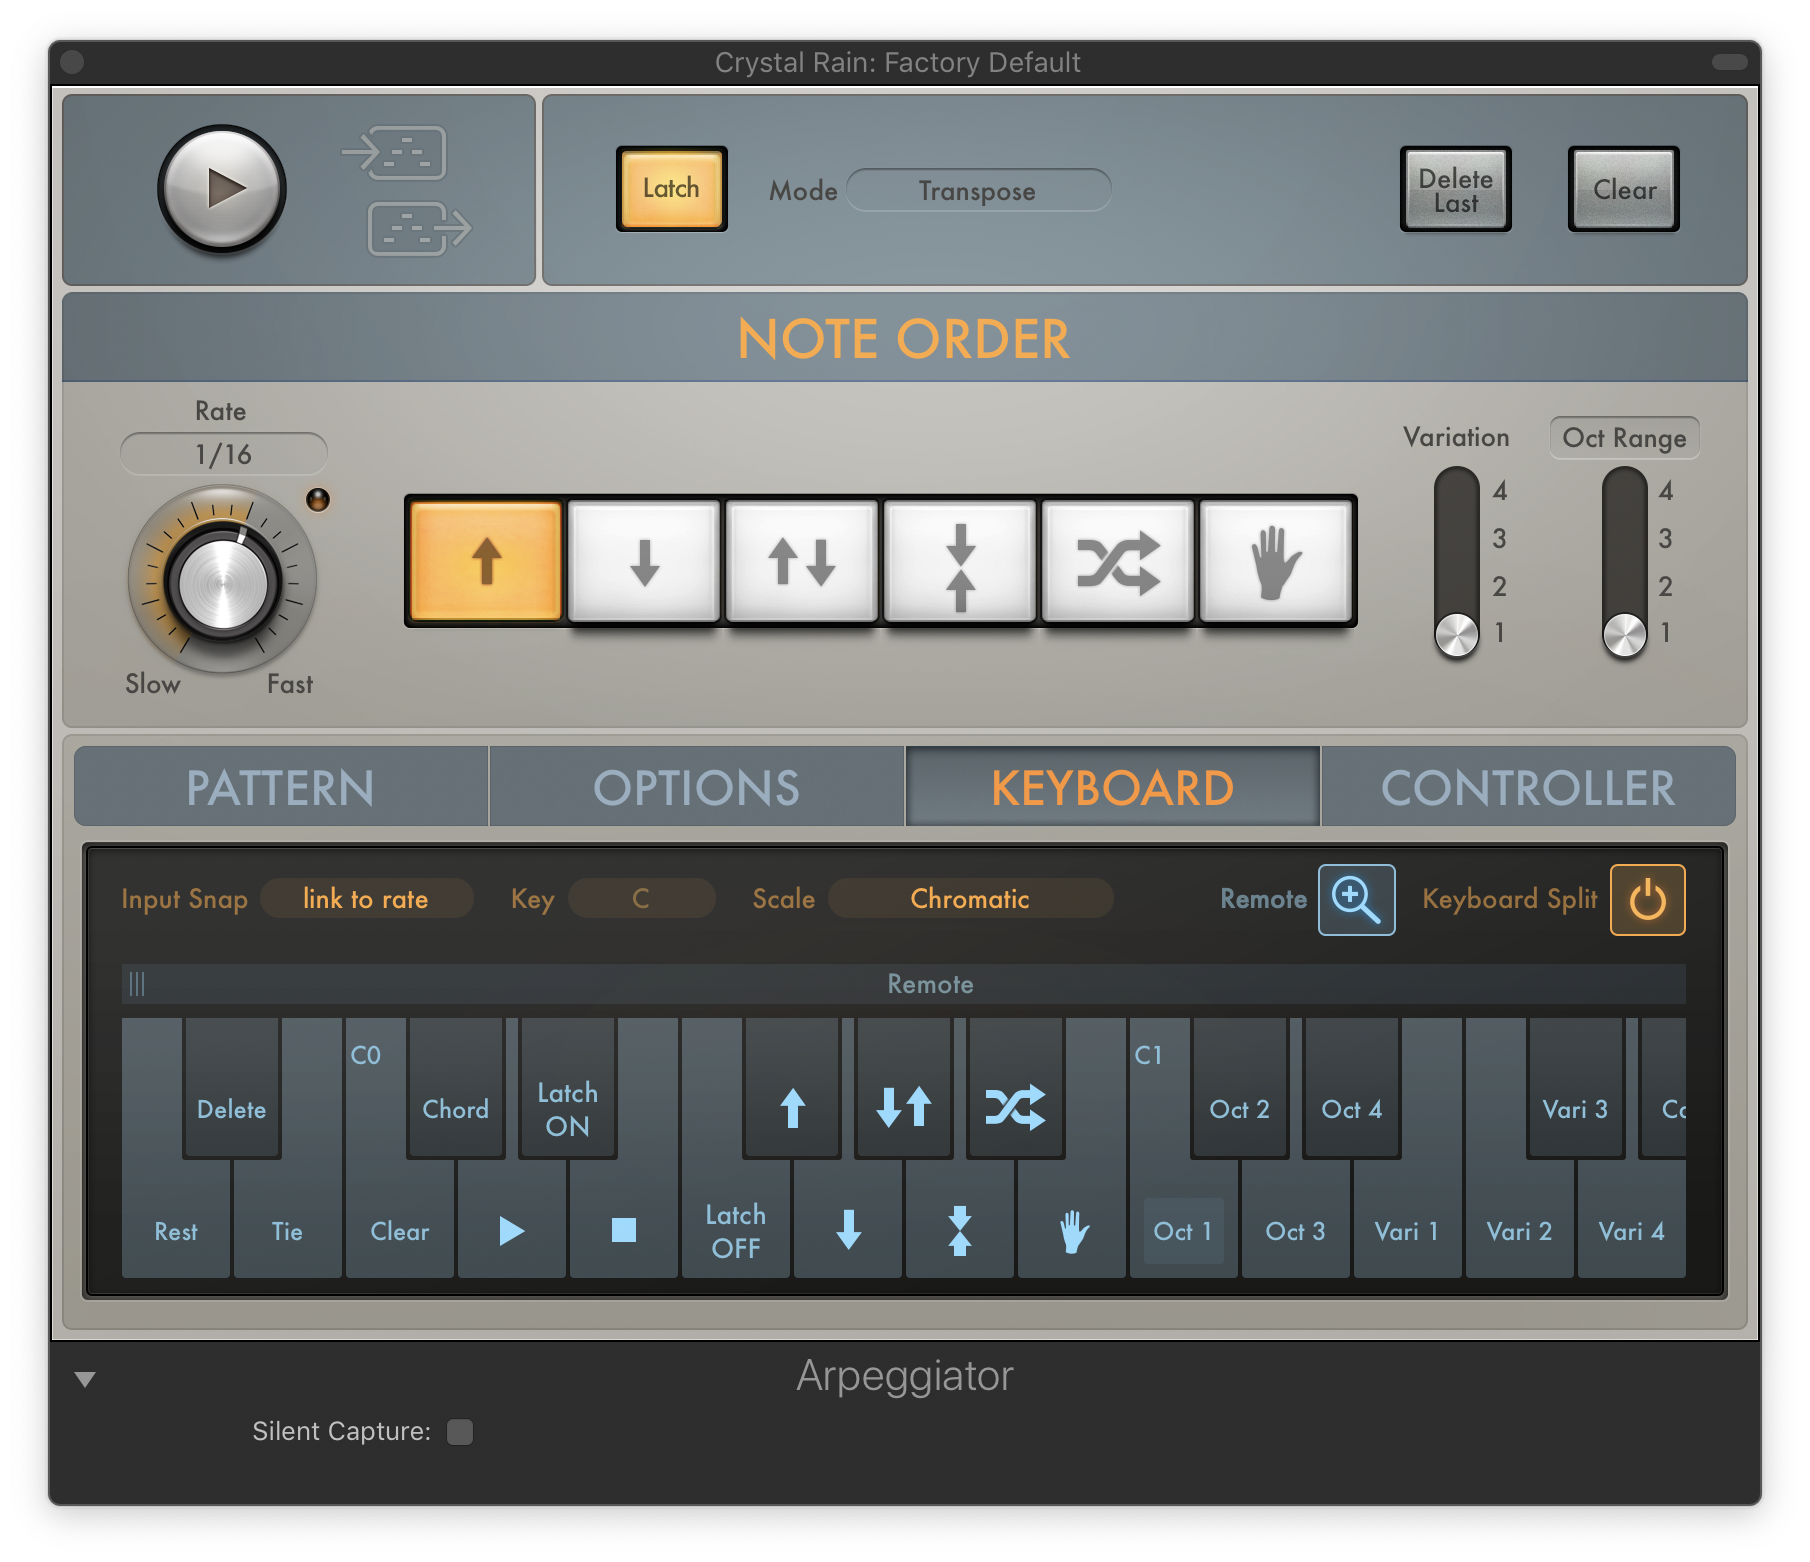
Turns the MIDI FX Arpeggiator on and off. NB the Arpeggiator is the only MIDI FX that has a command available from the Mac keyboard.

The Arpeggiator is completely controllable from the external MIDI device that is assigned to the channel. ‘Toggle Channel Strip Arpeggiator’ can be accomplished by having the MIDI device send a NoteOn for the “stop” button.

You can “re-program” the keys that control the arpeggiator by dragging them in the plugin editor window. Far more control than the original arpeggiator found in the MIDI Environment.

MIDI FX plugins are only available on Software Instrument channels.

Arpeggiator overview — Logic Pro X

The Arpeggiator MIDI plug-in generates musically interesting arpeggios based on incoming MIDI notes. It provides split and remote features that let you control nearly all Arpeggiator functions without taking your hands off the keyboard, making it a powerful live performance tool.

⇧ SHIFT – ⌃ CONTROL – ⌥ OPTION – ⌘ COMMAND

Toggle Hide View H — Logic Pro X keyboard command of the day

Logic Pro X keyboard command of the day. #LogicProX @StudioIntern1

  Toggle Hide View    H

Toggles the “hide” button available in the track header. The large “H” button is turned green, next press of “H” will hide tracks and make the “H” orange to indicate hidden tracks.

The whole matter of hiding and showing things is related to screen real estate. Really not a big issue for smaller projects, but it can get very crowded very quickly.

Group hiding is kind of handy. Quick key commands to completely hide tracks and corresponding channels.

I really wish I didn’t have to try to remember which group of tracks/channels got assigned to “1” or “7”.

⇧ SHIFT – ⌃ CONTROL – ⌥ OPTION – ⌘ COMMAND