Logic Pro X keyboard command of the day. #LogicProX @StudioIntern1
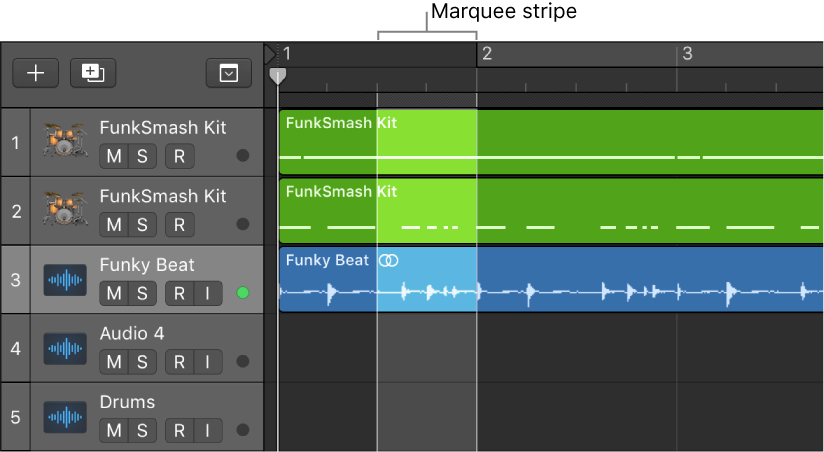
Toggle Next Region/Event or Move Marquee Start (or Extend Marquee Selection) to Next Transient ⇧→
I haven’t figured out the “toggle” part of the command, but the extend selection makes sense.
With a note (event) selected in a MIDI region ‘⇧→’ will extend the selection to include the next event. Easy to grab a note and the next few to make adjustments.
Using ‘⇧←’ (previous) extends the selection backwards in time.
With a marquee selection the commands behave as described, moving the start of the Marquee selection or extending it.
This is very handy fine-grained control of selections. I need to remember to make sure that the Marquee Ruler is visible.
Select parts of regions in the Tracks area — Logic Pro X
Do one of the following:
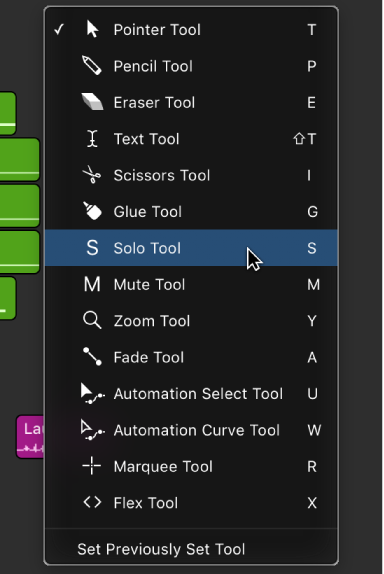
Using the Marquee tool:
Press and hold Shift, then click in the Tracks area to change the selection in any direction.
Shift-click inside a selection to move the selection end closest to the pointer.
Option-Shift-click inside a selection to move the selection end farther from the pointer.
Using any marquee selection:
Press and hold Shift while using the Left Arrow key or Right Arrow key to move the marquee start point.
You can also use the Toggle Previous (or Next) Region/Event, or set Marquee Start to Previous (or Next) Transient key commands.
Use the Left Arrow key or Right Arrow key to change the selection end points.
You can also use the Select Previous (or Next) Region/Event, or set Marquee End to Previous (or Next) Transient key commands, depending on the type of region selected.
⇧ SHIFT – ⌃ CONTROL – ⌥ OPTION – ⌘ COMMAND