Logic Pro X keyboard command of the day. #LogicProX @StudioIntern1
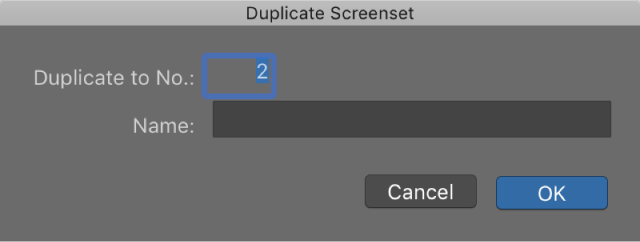
Duplicate Screenset…
Screensets are very useful. I use a few “standard” setups. Screenset 1 is typically the Arrange window with the mixer displayed in the bottom portion, tracks scaled to fit in the window. Screenset 2 is just the Arrange window with zoom applied. Screenset 3 is a floating transport, floating event, and the full mixer with room for all sends and controls.
Protect, copy, rename, and delete screensets — Logic Pro X
Switch to the screenset you want to copy, then choose Screensets > Duplicate (or use the Duplicate Screenset key command).
This little nifty activity is worth playing with…
Create, recall, and switch screensets — Logic Pro X
Switch a screenset during playback
Select the MIDI region into which you want to insert the meta event.Set the playhead to the point where you want the screenset to change.
Click the Create button in the Event List, then click the Meta Events button.
The inserted meta event has a default value of 50 (Project Select).
Alter the number in the Num column from 50 to 49.
This changes the name to screenset.
Enter the screenset number in the Val column.
You can stop screenset switching by muting the MIDI region that contains the meta 49 event.
For information about using the Event List, see Event List overview. For information about meta events, see Meta events.
⇧ SHIFT – ⌃ CONTROL – ⌥ OPTION – ⌘ COMMAND