Add Selected Channel Strips to Selected Groups — Logic Pro X keyboard command of the day

Logic Pro X keyboard command of the day. #LogicProX @StudioIntern1

  Add Selected Channel Strips to Selected Groups

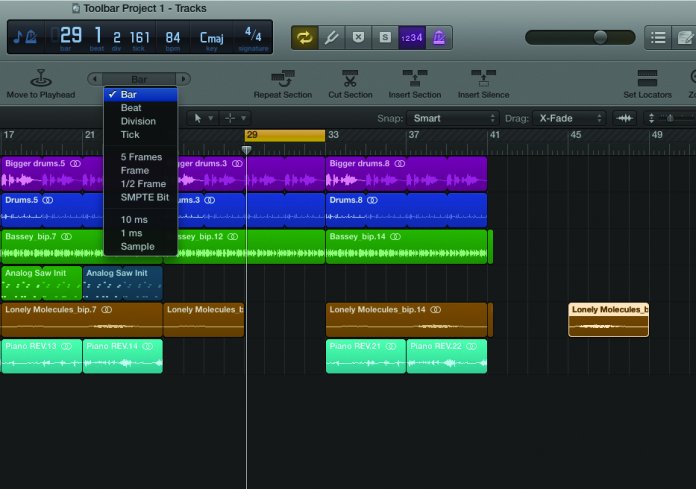
Select a Channel Strips by clicking on it. Add strips to the selection by holding down the shift key and clicking on a second one. This will select all the strips in between the first and second. Use command click to select non-contiguous strips.

Show the Groups window (⌥⇧G) is the easiest way. Expand the Groups window so you can see the list of groups. Select groups with click, shift-click, or command-click. Choose “Add selected channel strips” from the gear menu, or use the keyboard equivalent.

I think I like the possibility of “Track Zoom” and “Hide”, along with automating the group.

Groups overview — Logic Pro X:

Prior to mixing, you may find it useful to define some logical channel strip groups. You could, for example, group all drum channel strips under one drum group. This would allow you to control the group meters (volume, pan, mute, solo, sends, and so on) using a single control, while still maintaining the relative parameter values of each channel strip.

You can also automate a group. This lets you easily set the change for parameters of a group of channel strips over the course of a project. For example, you may wish to group all of your guitar channel strips together and have all of their relative volumes change at the same time throughout your project.

⇧ SHIFT – ⌃ CONTROL – ⌥ OPTION – ⌘ COMMAND

Nudge Region/Event Position Right by 1/2 SMPTE Frame — Logic Pro X keyboard command of the day

Logic Pro X keyboard command of the day. #LogicProX @StudioIntern1

  Nudge Region/Event Position Right by 1/2 SMPTE Frame

When that sound just has to line up with what is happening on the screen.

Editing audio to go along with a video. A skill that is probably far more useful now.

Move regions in the Tracks area — Logic Pro X:

You can also nudge regions (move them in small increments) left or right using key commands. To nudge regions, you first set the nudge value, then move selected regions by this value. Alternatively, you can nudge regions by a set value.

Logic Tutorial: Secrets of the Toolbar — MusicTech:

Cunningly hidden at the top of the interface, the Toolbar is Logic Pro X’s secret weapon for super-fast editing and arrangement, and a great way of extending a rough-and-ready demo into a developed composition.

Work with absolute time code — Logic Pro X:

The production process for video, film, or TV commercials is different from music production. Synchronization is always used, unlike in music production, where it is not always required. You need to work in absolute time: hours, minutes, seconds, and frames, rather than in bars and beats. Edits to the video, including changes to scene length, additional cuts, the use of slow or fast motion, and dialogue changes (or “redos”) are among the many situations that you will encounter when creating or editing a soundtrack.

⇧ SHIFT – ⌃ CONTROL – ⌥ OPTION – ⌘ COMMAND

Apply Default Crossfade ⌃⌥X — Logic Pro X keyboard command of the day

Logic Pro X keyboard command of the day. #LogicProX @StudioIntern1

  Apply Default Crossfade  ⌃⌥X

When editing it is important to create a crossfade at the boundary where the edit occurs. Left side fades out, right side fades in with the fades cross at the point where edit was made. It is quite possible for there to be an audible click or pop if the cross fade isn’t made.

I have”Fade Tool click zones” as well as “Marquee Tool click zones”. The Fade Tool click zones are the upper left and right corners of a region in editing windows. If you place the cursor between two regions that are adjacent the Fade Tool does a crossfade. Left corner, fade in. Right corner fade out.

The default crossfade time is set in the Audio preferences “Editing” tab. Twenty milliseconds.

I need to remember the “Equal Power” crossfade so I can use it when I “clip gain” a region. Get a better transition with differing levels.

Create fades — Logic Pro X:

You can fade in the beginning of audio regions, and fade out the end of audio regions (including audio Apple Loops).

Fades are only visible if you are zoomed in enough to see the waveform in the audio region. You can create a fade using either the Fade tool or the Fade In and Fade Out parameters in the Region inspector.

⇧ SHIFT – ⌃ CONTROL – ⌥ OPTION – ⌘ COMMAND

Toggle Varispeed — Logic Pro X keyboard command of the day

Logic Pro X keyboard command of the day. #LogicProX @StudioIntern1

  Toggle Varispeed 

This would come in very handy for cycling through a section with Varispeed on or off. Audition toggle. There are no menu commands for Varispeed control. Controls are located in the control bar.

Use Varispeed to alter the speed and pitch of audio — Logic Pro X:

Varispeed provides a way to speed up or slow down the entire project, similar to the original varispeed feature of tape machines. The most practical use for this option is checking how a project might sound at a faster or slower tempo, and for practicing or recording a performance at a lower speed.

⇧ SHIFT – ⌃ CONTROL – ⌥ OPTION – ⌘ COMMAND