Show Both, Live Loops Grid and Tracks View ⌥B — Logic Pro keyboard command of the day (KCotD)

  Show Both, Live Loops Grid and Tracks View    ⌥B

DIsplay both the Live Loops Grid and the Tracks View in the Main Window Tracks area.

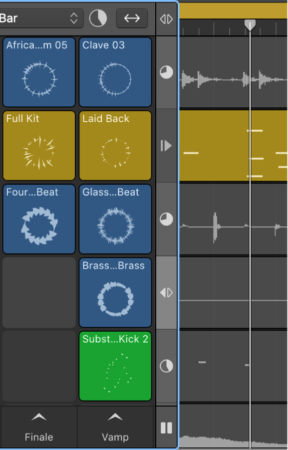
How the Live Loops grid and Tracks area interact in Logic Pro — Apple Support

On each track in Logic Pro, you can listen to either a cell in the Live Loops grid or a region in the Tracks area—never both simultaneously. When you start a cell, any regions on the same track become inactive. When you stop a cell, the regions are not immediately reactivated; you need to use buttons in the Divider column or key commands to do this.

Create Lane ⌥⌘N — Logic Pro keyboard command of the day (KCotD)

  Create Lane    ⌥⌘N

The comparison between lanes in the Step Editor and tracks in the Tracks area is helpful.

The Step Editor should not be confused with the Step Sequencer.

The Step Editor allows you to create detailed editing windows for MIDI events that can contain lots of details that need to be attended to.

Logic Pro Step Editor Overview — Apple Support

Lane: Each MIDI event type, be it a note or MIDI controller, is arranged from top to bottom in horizontal lanes much like the track lanes shown in the Tracks area. The type of event shown, and controlled, on each lane is freely configurable. You do this by setting Lane parameters (for each lane) in the inspector. For more information, see Logic Pro lane parameters overview.

Enharmonic Shift: # ⇧3 — Logic Pro keyboard command of the day (KCotD)

  Enharmonic Shift: #    ⇧3

Change the notation for the current note(s) to the enharmonic spelling using sharps. A rare occurrence, but sometimes necessary.

Change how accidentals appear in a score in Logic Pro — Apple Support

By default, the display of accidentals depends on the chosen key signature. Using note attributes, you can change flats to sharps, and vice versa. For information about setting the key signature, see Add key and time signature changes to a score in Logic Pro.

Move Region to Recorded Position ⌥⇧⌘R — Logic Pro keyboard command of the day (KCotD)

  Move Region to Recorded Position    ⌥⇧⌘R

Simple in concept. If I have moved a region on a track, and I want it to be placed back at the original point, move to recorded position seems perfect.

I was surprised with my test case, a song that was extracted from an hour-long set. I created regions for the tracks and exported the audio to work in a smaller project. When I sliced out a region, moved it, and tried to move it back I got a warning that the project had different time. Logic offered to offset time so I could place the audio at 1:43:10. This is actually useful if I want to refer back to the original full set recording.

Move regions in the Logic Pro Tracks area — Apple Support

This command only works for timestamped audio files, such as those recorded in the current project, and imported Broadcast Wave or SDII files. Timestamped files are indicated by a clock symbol in the Project Audio Browser.