Logic Pro X keyboard command of the day. #LogicProX @StudioIntern1
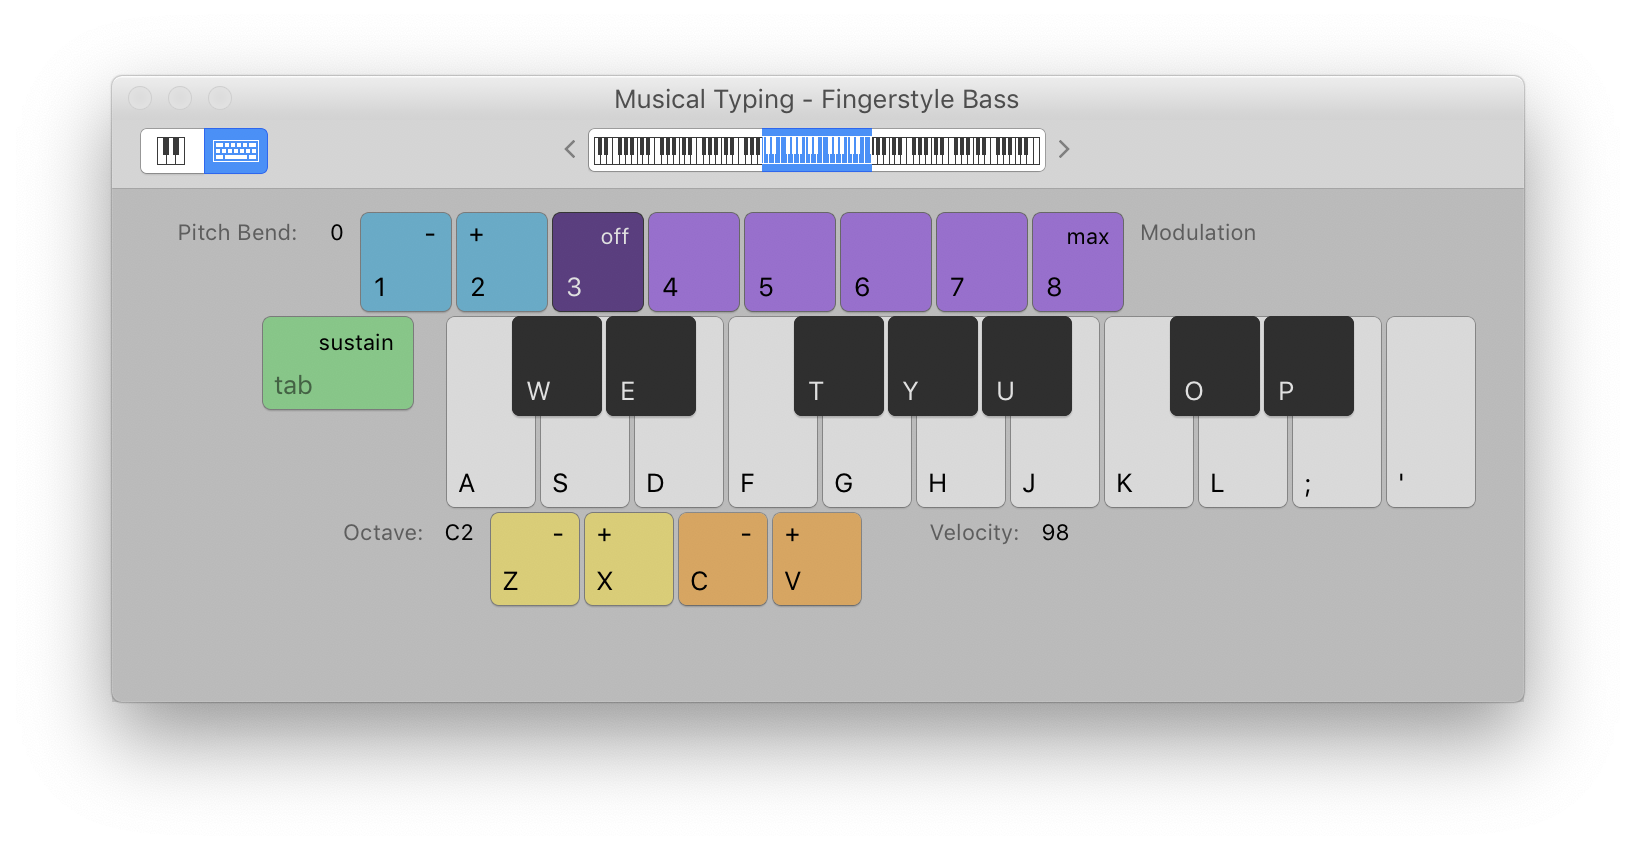
Note “G” G
In the past I claimed that the “F” key was the only key on the Musical Typing Keyboard that was “true”. The G key will also insert a note that is a G — my bad.
I keep forgetting that if I want to play in some notes to record, or try out an instrument, that I can bring up the Musical Typing Keyboard — ⌘K — and play some notes.
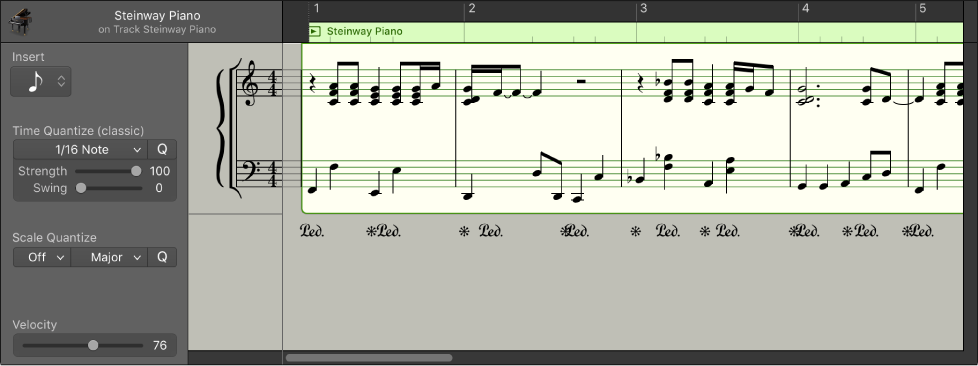
Use step input recording techniques — Logic Pro X
Step input allows you to insert MIDI notes when you’re not recording in real time. You can use step input to create note runs that may be too fast for you to play or to replicate sheet music that’s too difficult for you to play.
⇧ SHIFT – ⌃ CONTROL – ⌥ OPTION – ⌘ COMMAND