Open Audio File Editor… ⌘6 — Logic Pro X keyboard command of the day

Shows Audio File Editor interface
  Open Audio File Editor…    ⌘6

Opens the Audio File Editor to work with the current track’s audio file. NB the Audio File editor is destructive!

Logic Pro Audio File Editor overview — Apple Support

Most day-to-day audio editing tasks in Logic Pro are performed in the main window and Audio Track Editor. The Audio File Editor is useful for removing pops and clicks in audio material, setting accurate crossover points for looped playback, correcting phase cancellation errors, and more.

You can use the Audio File Editor to work with transient markers that indicate significant points—or transients—in an audio file. The audio on a track is analyzed for transients the first time you enable that track for Flex Time editing. Any detected transients in the file are marked.

Important: Most edits and functions performed in the Audio File Editor are destructive. This means the actual data of audio files is changed. Although you can undo edits and processing commands, you should work with copies of your audio files, rather than the originals.

Convert Regions to New Regions ⌥⌘R — Logic Pro X keyboard command of the day

  Convert Regions to New Regions    ⌥⌘R

It is a simple matter to create a “clone” of a region. Hold down Shift and Option while dragging a region. There are now copies of the region, located at different points in the timeline, that play the same audio. If you adjust the “original” region start or end point all of the clones are adjusted as well.

More than likely the regions should be made independent so they can be adjusted individually. Use the ‘Convert Regions to New Regions’ command.

The documentation (and the menu command itself) do not agree. The documentation and menu read ‘Audio Region to New Region’ as a sub-menu item of Convert. “Edit->Convert->Audio Region to New Region”.

Clone audio regions in the Logic Pro Tracks area — Apple Support

You can clone audio regions in the Tracks area. Cloning an audio region is similar to creating an alias of a MIDI region; the clone doesn’t contain any audio data, but is only a reference to the original, and any changes to the original apply to its clones.

Part of the documentation reduction debacle of the conversion from Logic Pro 9 to Logic Pro X…The Logic Pro X documentation turned into something other than a user manual, more like a guide…sigh

Logic Pro 9 User Manual: Creating Your Arrangement

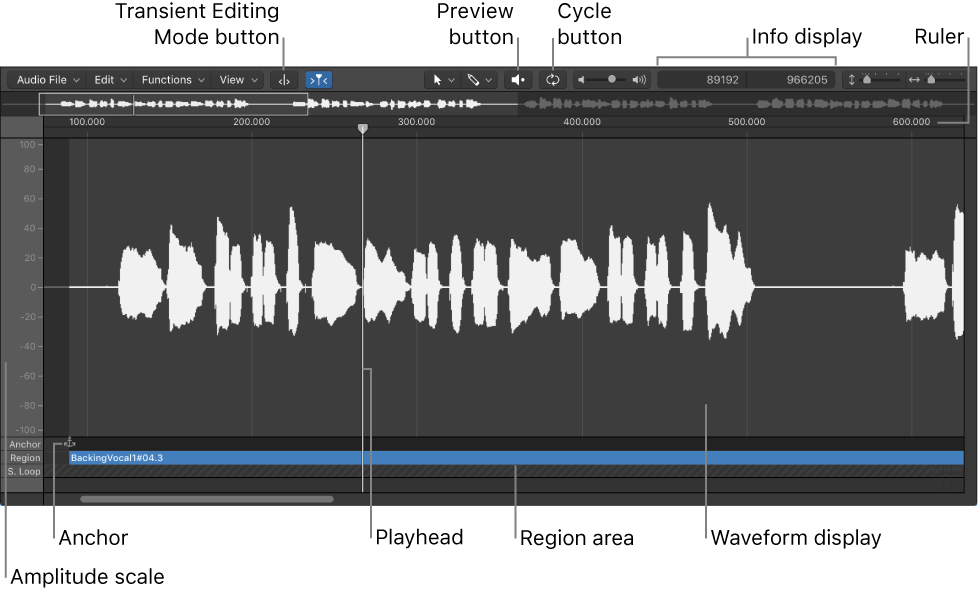
Once you have added your audio and MIDI regions to the Arrange area, you can edit and reorganize them to create an overall arrangement, or project. Most arranging and editing techniques work identically for both audio and MIDI regions. Apple Loops are also handled in a similar fashion. Where handling differs, variations are pointed out in the appropriate sections of this chapter. Note that all operations described with a pluralized heading (regions, for example), apply to one or more selected region(s).

Arranging overview — Logic Pro X

After adding audio, MIDI, and Drummer regions to your project (by recording, adding loops, using Drummer or adding media files), you build the project by arranging the regions in the Tracks area. As you work in the Tracks area, you can play the project at any time to hear your latest changes.

Select All Following ⇧F — Logic Pro X keyboard command of the day

  Select All Following    ⇧F

There are multiple meanings of “all following”.

In the Score Editor you can select all of the notes following the current selection.

Select notes in the Logic Pro Score Editor — Apple Support

Choose Edit > Select All Following.

In the tracks area you can select all of the following regions for a project, not simply a track. I am not quite sure about this behavior. It appears that ‘Select All Following’ will select all regions, on any track, that start later in the timeline (following.) Markers are included in the selection.

It appears that all ‘events’ following the current event are selected. Select all following works infall of the lists.

Toggle Metronome Click K — Logic Pro X keyboard command of the day

  Toggle Metronome Click    K

Turns the metronome on and off. I should try doing this while working on a track sometime, just to hear how far things may slip.

Use the metronome in Logic Pro — Apple Support

Logic Pro includes a metronome, which plays a steady beat (like a “click track”) to help you play and record in time. You can turn the metronome on or off when you’re recording, or any time your project is playing. The metronome always plays at the project tempo. This means that if a tempo map has been created by Smart Tempo, the metronome automatically follows it. It also means that if Smart Tempo is automatically adapting the project tempo to the performance being recorded, the timing of the metronome adapts along with it. For more information about Smart Tempo, see Logic Pro Smart Tempo overview.

“K” is for Klopfgeist | Logic Pro

Klopfgeist is the software instrument that powers Logic’s Metronome function. For many of us, there’s not much more to think about with the Klopfgeist other than enabling the Metronome and hitting “record.” But there’s plenty to dig into with our trusty and unwavering click. Whether it be for utility or creativity.

Select First, or Shift Marquee Selection Left ⇧↖ — Logic Pro X keyboard command of the day

  Select First, or Shift Marquee Selection Left    ⇧↖

Shift-Home. The Shift Right command is Shift-End.

Yes, the Marquee selection moves to the right or the left, but I cannot figure out what is used to determine how far to shift.

Mystery challenge of the day.

Select parts of regions in the Logic Pro Tracks area — Apple Support

Press Shift–Home (the default Select First, or Shift Marquee Selection Left key command).