Production Expert | Back To Basics. We Show You What To Have In A Remote Recording Engineer’s Gig Bag

Production Expert | Back To Basics. We Show You What To Have In A Remote Recording Engineer’s Gig Bag:

Seasoned engineers never leave home without their trusty gig bag, but if you’re new to remote recording, it can be hard to know what’s handy to have on the road. As a result, you either end up taking absolutely everything, just in case, or you end up on the job without a key cable of adaptor. In this article I am going to give you a sneak peek into my personal gig bag and explain why these items are so vital to having a successful gig.

I would add at least two dynamic mics and two attenuators. I carry an ART Dual-RDB and a pair of PylePro 58s.

Nudge Region/Event Position Right by 1 ms — Logic Pro X keyboard command of the day

Logic Pro X keyboard command of the day. #LogicProX @StudioIntern1

  Nudge Region/Event Position Right by 1 ms

Little timing changes are so handy to have under your fingertips. We’ve been near this command before.

Nudge Region/Event Length Left by 10 ms

Serious editing makes me keep the toolbar visible.

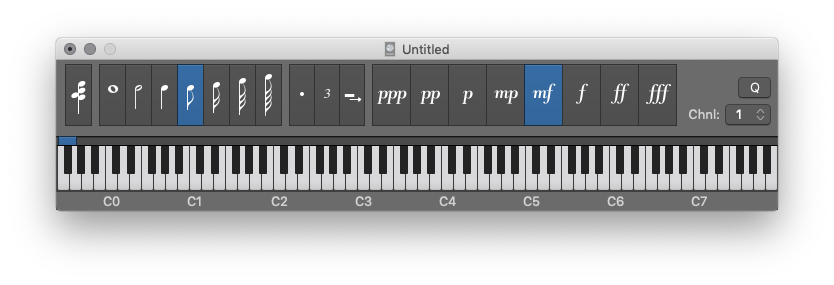
Move regions in the Tracks area — Logic Pro X:

Use one of the following key commands:

Nudge Region/Event Position Right by SMPTE Frame

Nudge Region/Event Position Left by SMPTE Frame

Nudge Region/Event Position Right by 1/2 SMPTE Frame

Nudge Region/Event Position Left by 1/2 SMPTE Frame

Nudge Region/Event Position Right by 5 SMPTE Frames

Nudge Region/Event Position Left by 5 SMPTE Frames

Nudge Region/Event Position Right by SMPTE Bit

Nudge Region/Event Position Left by SMPTE Bit

Nudge Region/Event Position Right by Tick

Nudge Region/Event Position Left by Tick

Nudge Region/Event Position Right by Division

Nudge Region/Event Position Left by Division

Nudge Region/Event Position Right by Beat

Nudge Region/Event Position Left by Beat

Nudge Region/Event Position Right by Bar

Nudge Region/Event Position Left by Bar

Nudge Region/Event Position Right by Nudge Value

Nudge Region/Event Position Left by Nudge Value

Nudge Region/Event Position Right by Sample

Nudge Region/Event Position Left by Sample

Nudge Region/Event Position Right by 1 ms

Nudge Region/Event Position Left by 1 ms

Nudge Region/Event Position Right by 10 ms

Nudge Region/Event Position Left by 10 ms

⇧ SHIFT – ⌃ CONTROL – ⌥ OPTION – ⌘ COMMAND

Select Project 6 — Logic Pro X keyboard command of the day

Logic Pro X keyboard command of the day. #LogicProX @StudioIntern1

  Select Project 6

I’m not sure this command actually makes sense in any rational environment. Having multiple projects open at the same time could be useful for copy information, but 6? Not only that — what is Project 6? The sixth project you opened? No. As best as I can tell open projects are listed in the “Window” menu in alphabetical order. Project 6 is the sixth window in the menu.

All the open projects are listed. Projects with windows that are actually visible on the screen have a bullet before the name.

Apparently these commands are holdovers from Logic 8 at which time projects maintained the order in which they were opened. This was how I assumed the commands would work. Not any more.

When the other 19 “Select Project nn” commands show up I will not be documenting them.

⇧ SHIFT – ⌃ CONTROL – ⌥ OPTION – ⌘ COMMAND

Octave 5 — Logic Pro X keyboard command of the day

Logic Pro X keyboard command of the day. #LogicProX @StudioIntern1

  Octave 5

Change the step input keyboard focus to Octave 5. Not much call for that if the keyboard is showing on the display. Far more likely to use the shift octave commands.

Octave - 2  Shift-Z
 
Octave - 1 Z
 
Octave + 1 X
 
Octave + 2 Shift-X

Use step input recording techniques — Logic Pro X:

Step input allows you to insert MIDI notes when you’re not recording in real time. You can use step input to create note runs that may be too fast for you to play or to replicate sheet music that’s too difficult for you to play.

⇧ SHIFT – ⌃ CONTROL – ⌥ OPTION – ⌘ COMMAND

Region Automation: Control Change 25 — Logic Pro X keyboard command of the day

Logic Pro X keyboard command of the day. #LogicProX @StudioIntern1

  Region Automation: Control Change 25

Set the region automation to CC25. With automation being displayed (press ‘A’ on the keyboard) you will typically see “Track” automation. Click on the “Track” button to change to region. There is also an on/off control button as well.

I am not sure of what “Region Automation” is all about. Ahh. Now it makes sense. Sound in space over time. A remarkably complex programming space. I simply need to re-think my programming methods. Parallel programs with function calls tied to time points as opposed to simply being interrupt driven. I need to meditate.

Show automation curves — Logic Pro X:

Before you can add automation points to a track’s automation curves, you need to show the automation curves. Automation curves are displayed as colored curves and points on top of audio and MIDI regions across the track, running the length of the project. You can choose whether to view and edit automation across the track (track-based automation) or only within the track’s regions (region-based automation).

⇧ SHIFT – ⌃ CONTROL – ⌥ OPTION – ⌘ COMMAND