Logic Pro X keyboard command of the day. #LogicProX @StudioIntern1
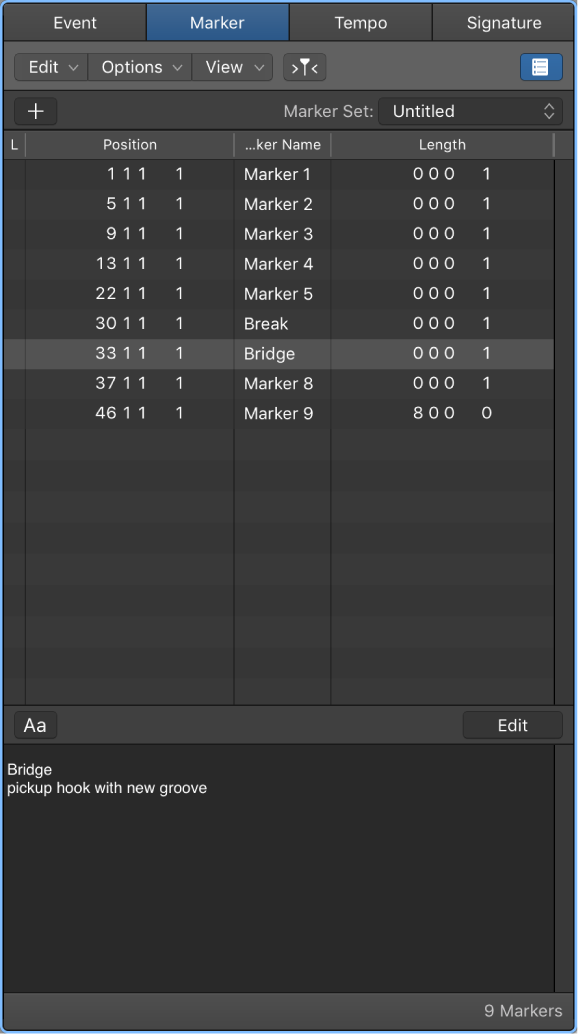
Go to Marker Number 14
Another of the numbered marker commands. Not happening for me. I name my markers or use the forward/backward marker commands and buttons on the X-Touch.
Markers overview — Logic Pro X
There are several ways to create and edit markers in Logic Pro. You can view and edit markers in the following work areas:
Navigate using markers — Logic Pro X
You can navigate through your project using markers. This is useful when you want to quickly jump to, and edit, regions or events at a specific position in your project, for example.
⇧ SHIFT – ⌃ CONTROL – ⌥ OPTION – ⌘ COMMAND