Logic Pro X keyboard command of the day. #LogicProX @StudioIntern1
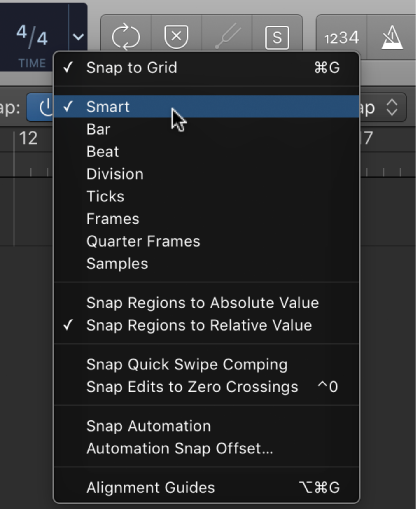
Snap Mode: Quarter Frames
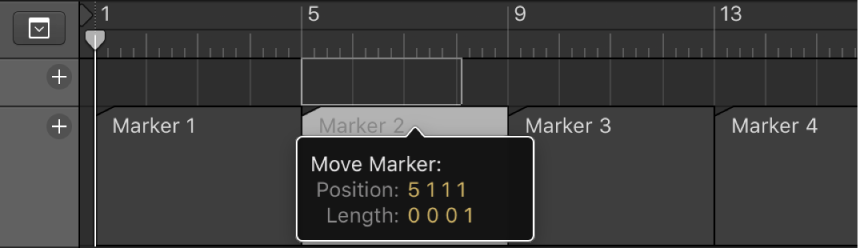
Sets the ‘snap to grid’ value to quarter frames. I often wondered how people got the music and the video to line up so well. Frames (and fractional frames) are just the thing.
Work with absolute time code — Logic Pro X
The production process for video, film, or TV commercials is different from music production. Synchronization is always used, unlike in music production, where it is not always required. You need to work in absolute time: hours, minutes, seconds, and frames, rather than in bars and beats. Edits to the video, including changes to scene length, additional cuts, the use of slow or fast motion, and dialogue changes (or “redos”) are among the many situations that you will encounter when creating or editing a soundtrack.
⇧ SHIFT – ⌃ CONTROL – ⌥ OPTION – ⌘ COMMAND