Octave 5 — Logic Pro X keyboard command of the day

Logic Pro X keyboard command of the day. #LogicProX @StudioIntern1

  Octave 5

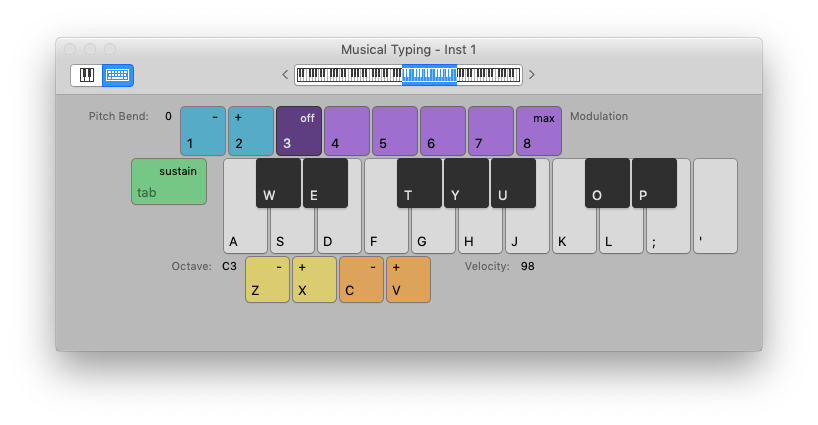
Change the step input keyboard focus to Octave 5. Not much call for that if the keyboard is showing on the display. Far more likely to use the shift octave commands.

Octave - 2  Shift-Z
 
Octave - 1 Z
 
Octave + 1 X
 
Octave + 2 Shift-X

Use step input recording techniques — Logic Pro X:

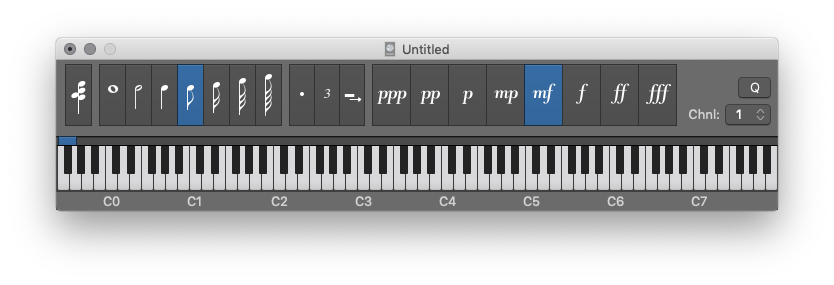
Step input allows you to insert MIDI notes when you’re not recording in real time. You can use step input to create note runs that may be too fast for you to play or to replicate sheet music that’s too difficult for you to play.

⇧ SHIFT – ⌃ CONTROL – ⌥ OPTION – ⌘ COMMAND
Region Automation: Control Change 25 — Logic Pro X keyboard command of the day

Logic Pro X keyboard command of the day. #LogicProX @StudioIntern1

  Region Automation: Control Change 25

Set the region automation to CC25. With automation being displayed (press ‘A’ on the keyboard) you will typically see “Track” automation. Click on the “Track” button to change to region. There is also an on/off control button as well.

I am not sure of what “Region Automation” is all about. Ahh. Now it makes sense. Sound in space over time. A remarkably complex programming space. I simply need to re-think my programming methods. Parallel programs with function calls tied to time points as opposed to simply being interrupt driven. I need to meditate.

Show automation curves — Logic Pro X:

Before you can add automation points to a track’s automation curves, you need to show the automation curves. Automation curves are displayed as colored curves and points on top of audio and MIDI regions across the track, running the length of the project. You can choose whether to view and edit automation across the track (track-based automation) or only within the track’s regions (region-based automation).

⇧ SHIFT – ⌃ CONTROL – ⌥ OPTION – ⌘ COMMAND

New Chord Memorizer — Logic Pro X keyboard command of the day

Logic Pro X keyboard command of the day. #LogicProX @StudioIntern1

  New Chord Memorizer

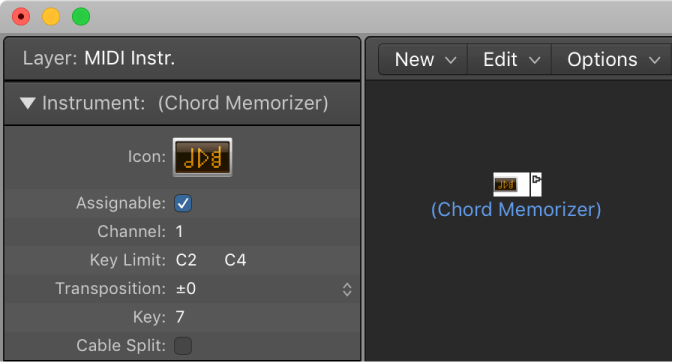
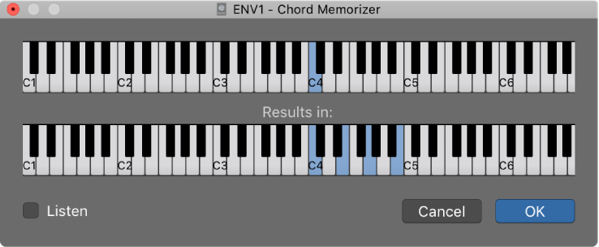
In the environment. This is a good place to lose a few hours some morning. Put a Chord Memorizer into the path and play with it.

Chord Memorizer Keyboard

Chord memorizer objects overview — Logic Pro X:

The easiest way to use a chord memorizer is to connect its output to the instrument that you want to play the chords through, and assign it to a track. You can, of course, place it anywhere else in the MIDI signal path.

⇧ SHIFT – ⌃ CONTROL – ⌥ OPTION – ⌘ COMMAND

Note “G#” Y — Logic Pro X keyboard command of the day

Logic Pro X keyboard command of the day. #LogicProX @StudioIntern1

  Note “G#”   Y

Took 3 tries to get something interesting today.

Use step input recording techniques — Logic Pro X:

Step input allows you to insert MIDI notes when you’re not recording in real time. You can use step input to create note runs that may be too fast for you to play or to replicate sheet music that’s too difficult for you to play.

⇧ SHIFT – ⌃ CONTROL – ⌥ OPTION – ⌘ COMMAND

Object Height +1 Pixel ⌥⇧↓ — Logic Pro X keyboard command of the day

Logic Pro X keyboard command of the day. #LogicProX @StudioIntern1

  Object Height +1 Pixel    ⌥⇧↓

Found in the Environment. I still don’t get it with the “down” arrow making something bigger. Sort of like computer chips using 1 for false and 0 for true…

The manual says use keyboard commands, but doesn’t list them 😉 The width commands make sense left arrow makes smaller, right arrow makes bigger.

Seems strange that documentation back to version 9 doesn’t actually list the keyboard commands.

Adjust the position and size of objects — Logic Pro X:

Use the following keyboard shortcuts to decrease or increase the width or height of selected objects by 1 pixel:

Object Width −1 Pixel

Object Width +1 Pixel

Object Height −1 Pixel

Object Height +1 Pixel

⇧ SHIFT – ⌃ CONTROL – ⌥ OPTION – ⌘ COMMAND