Snap Mode: 1/2 Note — Logic Pro X keyboard command of the day

Logic Pro X keyboard command of the day. #LogicProX @StudioIntern1

  Snap Mode: 1/2 Note
 

I located this in the Track editor first. There is a “Smart” menu that can be enable/disabled with each of the possible snap modes. Probably very handy in editing lots of things.

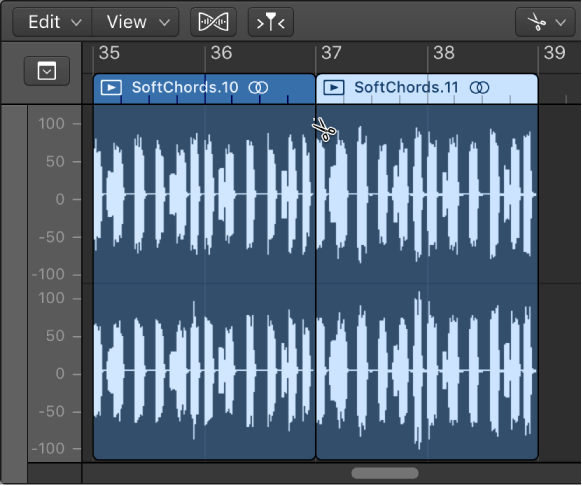
Snap edits to zero crossings in the Audio Track Editor
When Show Advanced Tools is selected in the Advanced preferences pane, you can snap edits you make in the Audio Track Editor to zero crossings. Making edits, such as trimming or splitting audio regions, snap to zero crossings helps ensure that no “click” or other noise is produced at the edit position.

Set edits to snap to zero crossings
Choose Snap Edits to Zero Crossings from the Snap pop-up menu in the Tracks area menu bar.

Excerpt From: Apple Inc. “Logic Pro X User Guide.” iBooks.

⇧ SHIFT – ⌃ CONTROL – ⌥ OPTION – ⌘ COMMAND
Set main finger 2 ⌃⌥⇧2 — Logic Pro X keyboard command of the day

Logic Pro X keyboard command of the day. #LogicProX @StudioIntern1

  Set main finger 2    ⌃⌥⇧2
 

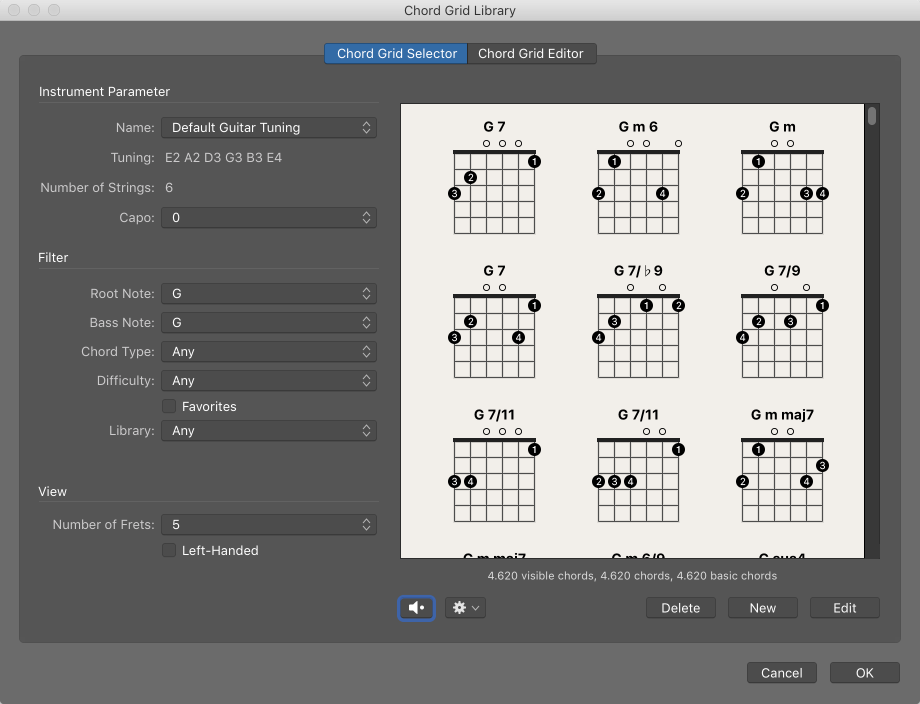
I am having no luck with this one. Best guess is that I might use it if I was working with tablature, chord grids, and the like.

Chord grids overview
When Show Advanced Tools is selected in the Advanced preferences pane, you can add chord grid symbols from the Part box. Logic Pro includes a large library of chord grids, in standard tuning and in a variety of alternative tunings.

You can review and edit existing chord grid libraries and chord grids, as well as create your own, in the Chord Grid Library.

The Chord Grid Library window contains three panes: the Instrument Editor, Chord Grid Selector, and Chord Grid Editor. The Instrument Editor may not be available, depending on which method you use to open the Chord Grid Library.

Excerpt From: Apple Inc. “Logic Pro X User Guide.” iBooks.

⇧ SHIFT – ⌃ CONTROL – ⌥ OPTION – ⌘ COMMAND
Drag Mode: X-Fade — Logic Pro X keyboard command of the day

Logic Pro X keyboard command of the day. #LogicProX @StudioIntern1

Drag Mode: X-Fade 

Main Window Tracks

Set the drag mode for the Tracks area
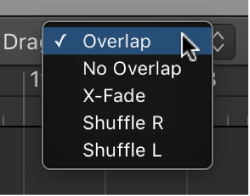
Choose one of the following modes from the Drag pop-up menu in the Tracks area menu bar:

Overlap: Preserves the current region borders when you drag one region over another.

No Overlap: When two regions overlap, the overlapped area of the left (earlier) region is shortened.

X-Fade: When two audio regions overlap, the overlapped area is crossfaded.

Shuffle R: Aligns regions when you move, resize, or delete them, in the following ways:

Move: Moving a region to the right aligns the end point of the region with the start point of the region that follows, so there is no space (gap) between them.

Resize: When you resize the left edge of a region, the preceding regions move by the change in length. If this causes preceding regions to move past the start of the project, the resized region then overlaps the preceding ones by the corresponding amount.

Delete: The remaining regions on the track move by the length of the deleted region.

Shuffle L: Aligns regions when you move, resize, or delete them, in the following ways:

Move: Moving a region to the left aligns the start point of[…]”

Excerpt From: Apple Inc. “Logic Pro X User Guide.” iBooks.

⇧ SHIFT – ⌃ CONTROL – ⌥ OPTION – ⌘ COMMAND
Time Stretch Region Length to Locators ⌥⌘L

Logic Pro X keyboard command of the day. #LogicProX @StudioIntern1

  Time Stretch Region Length to Locators    ⌥⌘L
 

Pre-defined as option-command-L . Appears in the Toolbar as ‘Stretch to Locators’, Edit menu of the Arrange/Tracks window, and in the Edit menu of the Track Editor window.

Time stretch regions in the Tracks area
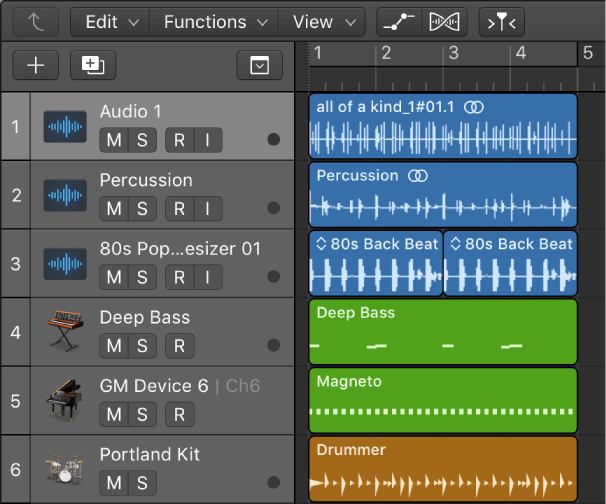
When you resize regions, the position of notes and other events in the regions does not change. Alternatively, you can time stretch regions to shorten or lengthen the relative distance between events in the regions. Expanding regions increases the distance (the amount of time) between events in the regions, while compressing regions decreases the distance.

For example, you can make a region play in half time by stretching it to twice its original length, or play in double time by shortening it to half its original length.

You can also time stretch individual notes, chords, and other items in audio regions using Flex Time. For more information, see Flex Time and Pitch overview.”

Excerpt From: Apple Inc. “Logic Pro X User Guide.” iBooks.

⇧ SHIFT – ⌃ CONTROL – ⌥ OPTION – ⌘ COMMAND
Go to Beginning of First Region — Logic Pro X keyboard command of the day

Logic Pro X keyboard command of the day. #LogicProX @StudioIntern1

  Go to Beginning of First Region
 

Figured it out by hand. No reference made in Logic Pro X User Guide.

Sets the playhead to the beginning of the first region in the project. I think it would be more useful if it set the playhead to the first region of the selected track(s), but that’s just me.

I think what I want is

Go to Selection Start - ⌃↖ - control-home

or

Play From Selection - ⇧˽ - shift-space

Thanks to StackExchange –

Logic Pro X: keyboard shortcut to move the playhead to the begining of selected region — Music: Practice & Theory Stack Exchange:

The accepted answer is spot on — just wanted to add one important thing…

If you’re using a laptop — ctrl-home is produced by pressing ctrl-fn and the left arrow key.

Guess I need to do more editing to really appreciate these commands.

⇧ SHIFT – ⌃ CONTROL – ⌥ OPTION – ⌘ COMMAND