Set Average Tempo for Selection A — Logic Pro X keyboard command of the day

Logic Pro X keyboard command of the day. #LogicProX @StudioIntern1

  Set Average Tempo for Selection    A
 

Smart Tempo Editor.

Work in the Smart Tempo Editor — Logic Pro X:

In the Smart Tempo Editor, you can view and edit Smart Tempo analysis results including beat markers and other tempo information. After you record an audio or MIDI region or import a file using Smart Tempo, you can refine the tempo analysis and correct any tempo detection errors to define the musical intent more accurately. When working in Adapt mode, tempo and time signature changes are transferred to the project tempo and time signature tracks.

⇧ SHIFT – ⌃ CONTROL – ⌥ OPTION – ⌘ COMMAND

Print ⌘P — Logic Pro X keyboard command of the day

Logic Pro X keyboard command of the day. #LogicProX @StudioIntern1

  Print    ⌘P
 

Obvious command in a Mac application. I wonder where it is available?

Have to have s Score Editor of some sort open for printing to actually work. Project notes and track notes can be printed out as well.

⇧ SHIFT – ⌃ CONTROL – ⌥ OPTION – ⌘ COMMAND
Next Staff ↓ — Logic Pro X keyboard command of the day

Logic Pro X keyboard command of the day. #LogicProX @StudioIntern1

  Next Staff    ↓
 

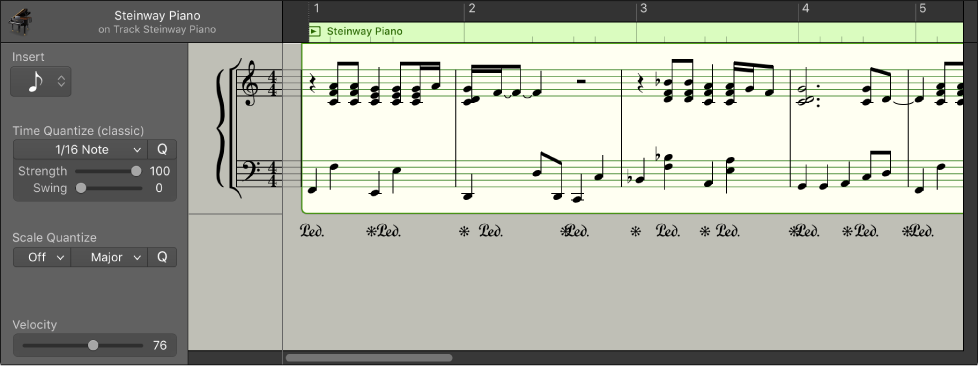
Welcome to the Score Editor. I haven’t written music notation for at least 15 years. Back when I was doing serious music 😉 I used Finale. The “Orchestra Nova” experience would have been so much more entertaining using modern day Logic Pro X as opposed to Finale and Opcode Studio Vision. Light years. Parsecs even.

Notation overview — Logic Pro X:

Notation overview

You can view MIDI regions in software instrument (and external MIDI instrument) tracks as music notation in the Score Editor. Notes and other musical events are displayed as standard notation, along with common symbols such as time and key signature, bar lines, and clef signs. You can add and edit notes, add sustain pedal markings and other symbols, and print the score.

⇧ SHIFT – ⌃ CONTROL – ⌥ OPTION – ⌘ COMMAND
Move Locators Backwards by Cycle Length ⇧⌘,

Logic Pro X keyboard command of the day. #LogicProX @StudioIntern1

  Move Locators Backwards by Cycle Length    ⇧⌘,
 

Touch bar 7. This is a very handy thing to know. I fumble about with locators, cycle, and other methods of gaining focus on part of the sound. The backward and forward keys are the same (comma, period) as all of the other motion areas.

For me the focus will be on using the marquee tool in conjunction with cycle.

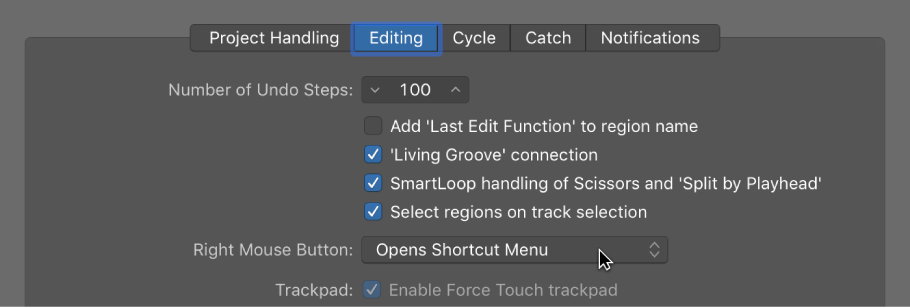
Use the marquee tool to select an area. I have the marquee tool become active in the lower half of a region. Press ⌘U to set locators by marquee and enable cycle. Press ‘space’ to start looping

Assign tools — Logic Pro X:

Marquee Tool Click Zones: When selected, placing the pointer over the lower half of a region (with the exception of the lower-left and lower-right edges) activates the Marquee pointer and behavior.

⇧ SHIFT – ⌃ CONTROL – ⌥ OPTION – ⌘ COMMAND
2019-06-27 — discovered error in narrative. Use the proper key command for ‘set locators and enable cycle’ — ⌘U

Rewind ,  — Logic Pro X keyboard command of the day

Logic Pro X keyboard command of the day. #LogicProX @StudioIntern1

  Rewind    ,
 

In all of the time using Logic I don’t think I have ever purposely used the comma key except in Project Notes or Track Notes.

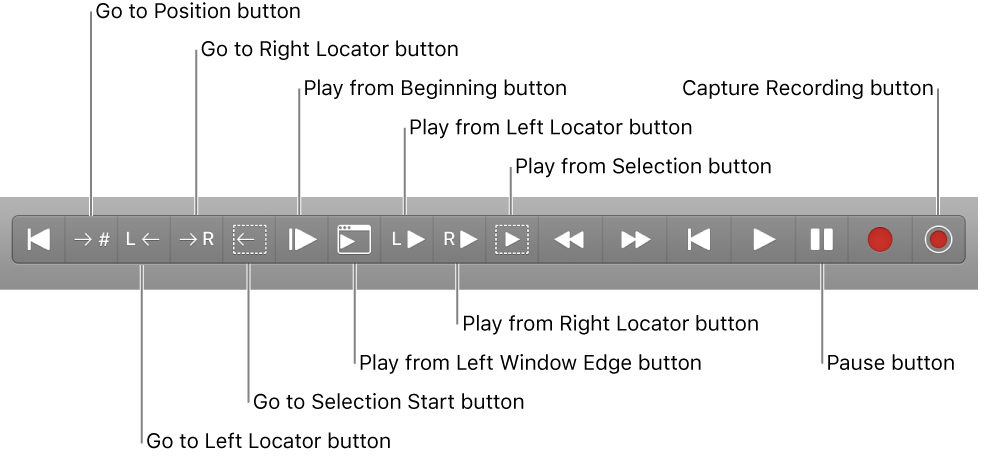
I am almost always using the “additional transport buttons”.

Control playback with the transport buttons — Logic Pro X:

You can use the transport buttons in the control bar to control playback, or to set the playhead position. You can click the buttons to activate or deactivate functions, or use the corresponding key commands to speed up your workflow.

Use transport key commands — Logic Pro X:

Some transport functions are available as key commands. Most of these transport key commands have no default assignment, and need to be assigned manually. See Assign keyboard shortcuts.

For supported USB MIDI controllers, button controls on the device may be automatically assigned to transport key commands. For more information, see Automatic assignment for USB MIDI controllers.

⇧ SHIFT – ⌃ CONTROL – ⌥ OPTION – ⌘ COMMAND