Pack Folder — Logic Pro X keyboard command of the day

Logic Pro X keyboard command of the day. #LogicProX @StudioIntern1

  Pack Folder

Folders overview — Logic Pro X:

A folder is a region that can contain other regions, similar to a folder in the Finder that can contain different files. You can edit a folder in many of the same ways you edit a MIDI region.

A folder can be thought of as an arrangement within an arrangement. A folder can contain as many tracks (with their regions) as needed. When a folder is closed, it looks like a MIDI region in the Tracks area:

It took me a long time to figure out the difference between folders and track stacks.

⇧ SHIFT – ⌃ CONTROL – ⌥ OPTION – ⌘ COMMAND

Show/Hide All Inactive Track Alternatives — Logic Pro X keyboard command of the day

Logic Pro X keyboard command of the day. #LogicProX @StudioIntern1

  Show/Hide All Inactive Track Alternatives

Track alternatives are new to me. When mixing I normally want to change channel strip settings, not the actual music. I recognize the benefits of comping, but I don’t record multiple takes and then work with the better pieces of each.

I need to remember track alternatives. I think they will come in handy when I collaborate with other Logic users.

Use track alternatives — Logic Pro X:

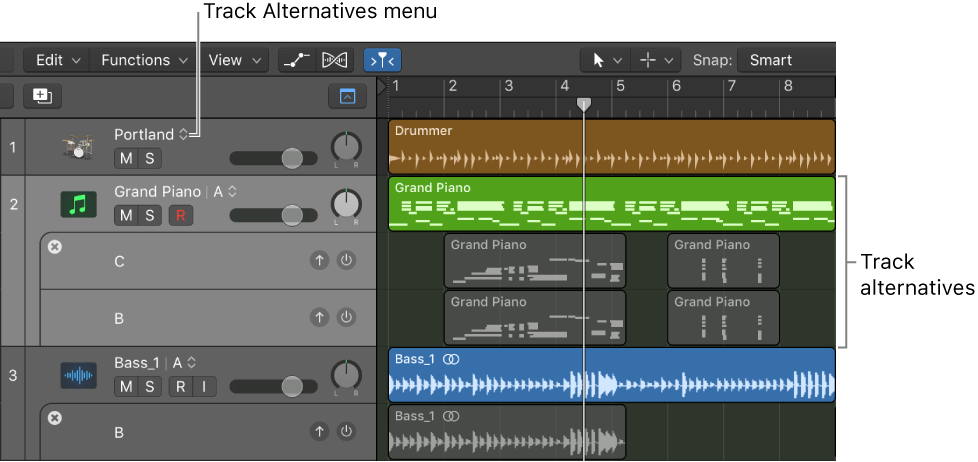
You can create and edit track alternatives and switch between them. Each alternative can contain different regions or arrangements, while sharing the same channel strip and plug-ins. Track alternatives are like “playlists” for individual tracks that can be used to try out different ideas or archive tracks at different stages of development.

⇧ SHIFT – ⌃ CONTROL – ⌥ OPTION – ⌘ COMMAND

Set main finger 5 ⌃⌥⇧5 — Logic Pro X keyboard command of the day

Logic Pro X keyboard command of the day. #LogicProX @StudioIntern1

  Set main finger 5    ⌃⌥⇧5

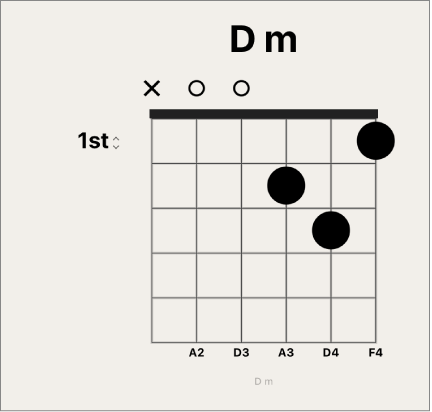
Score Editor.

I can’t seem to find any reading material that addresses “main finger”. Will have to confer with my scoring wizard (who happens to be a guitar player).

⇧ SHIFT – ⌃ CONTROL – ⌥ OPTION – ⌘ COMMAND

Apply Quantization Permanently ⌃Q — Logic Pro X keyboard command of the day

Logic Pro X keyboard command of the day. #LogicProX @StudioIntern1

  Apply Quantization Permanently    ⌃Q

MIDI quantization. The holy grail and the pit of tar. When properly used we can get accurate scores and more realistic “performances”.

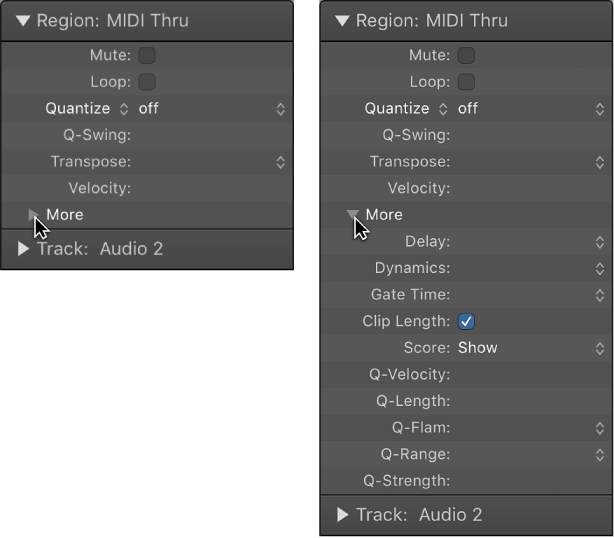
The Region inspector allows for changing quantization non-destructively. The changes made here do not alter the events permanently, much like changing the gain of an audio region.

MIDI region parameters — Logic Pro X:

Apply MIDI region parameters permanently
You can apply the MIDI region parameter settings of all selected MIDI regions and folders with the Functions > MIDI Region Parameters > Apply All Parameters Permanently command.

This means that all settings are actually written as data, and playback parameters revert to normal values. The audible result remains the same. The Loop parameter and advanced quantization parameters (Q-Velocity, Q-Length, Q-Flam, Q-Range, and Q-Strength) are not affected. However, use this carefully as you lose the ability change your mind about MIDI region edits.

⇧ SHIFT – ⌃ CONTROL – ⌥ OPTION – ⌘ COMMAND

I fondly recall the fine control of MIDI from Opcode Vision and Studio Vision. Emagic Notator (then Logic) showed up on the scene right around the time of my full commitment to Opcode software and tools. When Gibson bought Opcode I thought the Mac was doomed as the computer for musicians.

My memory could be faulty, but I’m pretty sure Dave Oppenheim from Opcode got hired by Apple in the late 1990s. The whole Core Audio and Core MIDI worlds inside macOS and iOS are so much like OMS.

Next Channel Strip Setting of focused Track ⇧] — Logic Pro X keyboard command of the day

Logic Pro X keyboard command of the day. #LogicProX @StudioIntern1

  Next Channel Strip Setting of focused Track    ⇧]

Very easy to audition settings for channels. This controls the channel strip settings (from the Settings menu). The user-defined settings are first, followed by Logic and GarageBand channels.

The user settings are contained in

~/Music/Audio Music Apps/Channel Strip Settings/

There are a lot of pre-defined strips that are used by Logic for the software instruments, delays, reverbs, and other useful things.

Today I’ll read the introductory chapters on plug-ins and channel strips.

Work with plug-in settings — Logic Pro X:

Plug-in settings are stored with the project file and are automatically recalled the next time the project is opened. In the plug-in window, you can load, copy and paste, compare, save, create default, and delete plug-in settings. You can also load, save, and delete plug-in settings in the Library.

⇧ SHIFT – ⌃ CONTROL – ⌥ OPTION – ⌘ COMMAND