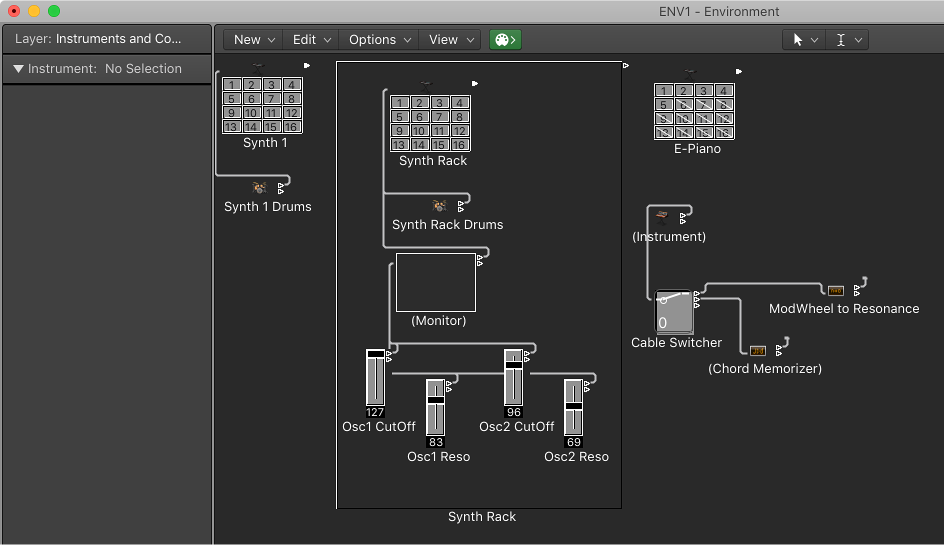
Set Automation Select Tool — Logic Pro X keyboard command of the day

Logic Pro X keyboard command of the day. #LogicProX @StudioIntern1

  Set Automation Select Tool

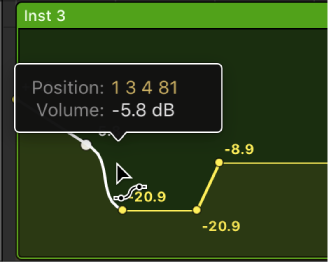
The performance part of mixing, mastering, and editing sound. Just as sound occurs over time the changes of the sounds do as well. Being able to copy or move automation is just as important as being able to copy a chorus or a verse. There is value in reproducible “movement”.

I’m just reminding myself that automation is my friend and I should remember to use it as a mixing tool. I don’t always have to create a region to make some simple fader moves.

Select, copy, and move automation — Logic Pro X

After you create automation points and curves, you can easily change things to meet your needs. You can copy automation within a track or between tracks and can move automation within a track. When moving regions, you can choose whether or not to move any existing automation with it.

⇧ SHIFT – ⌃ CONTROL – ⌥ OPTION – ⌘ COMMAND
Play/Stop Region from Anchor ⌃⇧→ — Logic Pro X keyboard command of the day

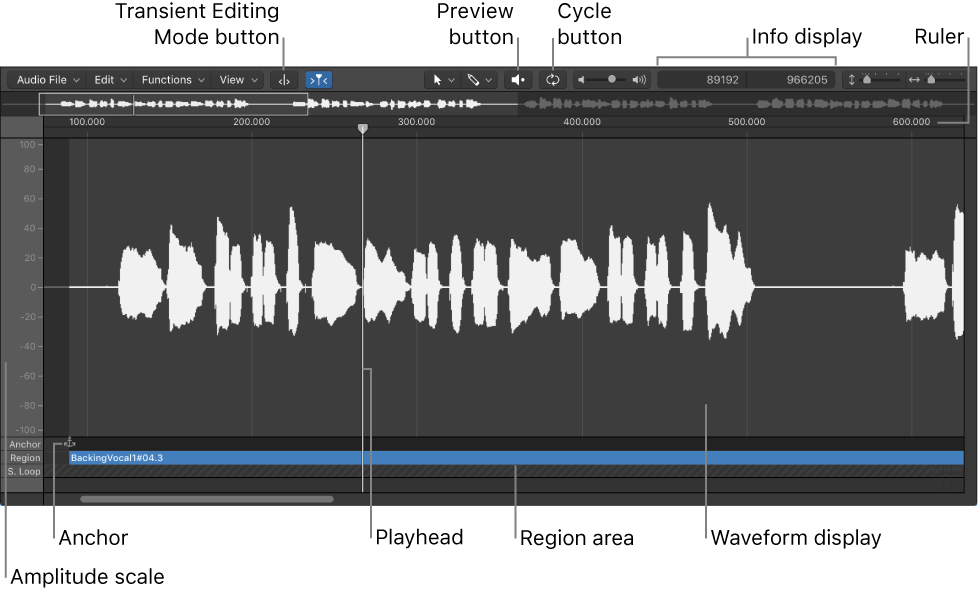
Shows Audio File Editor interface

Logic Pro X keyboard command of the day. #LogicProX @StudioIntern1

  Play/Stop Region from Anchor    ⌃⇧→

I rarely work in the Audio File Editor. My typical usage is to reduce the level of audio from 0.0 dB to something slightly less. I need to do this to get “Normalize Region Gain…” commands to work.

Audio File Editor interface overview — Logic Pro X

Anchor: Indicates the absolute start point of the audio file.

Play audio files in the Audio File Editor — Logic Pro X

There are a number of playback options in the Audio File Editor. Playback of audio files in the Audio File Editor occurs independently of the project playhead position. To hear the audio file in the context of your arrangement, you should use the control bar buttons.

⇧ SHIFT – ⌃ CONTROL – ⌥ OPTION – ⌘ COMMAND
Settings: Clefs and Signatures ⌃⌥⇧L — Logic Pro X keyboard command of the day

Logic Pro X keyboard command of the day. #LogicProX @StudioIntern1

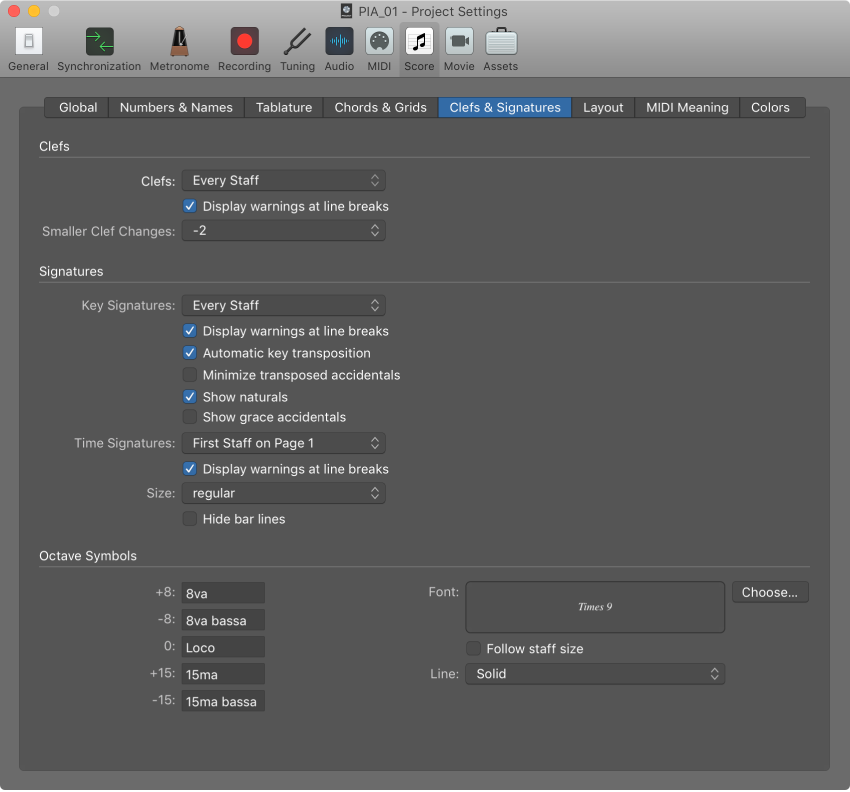
  Settings: Clefs and Signatures    ⌃⌥⇧L


Scoring musical parts is a simple task that is rife with complexity. I haven’t done any scoring since the early 1990s when Finale first came out. At that time the tutorial was an eight to ten day affair, and if I stopped working with it I would lose the skills rapidly.

If I have any significant scoring needs I will probably choose some other tool, but for now I am glad that Logic has this all built in. I can work with this.

Clefs & Signatures settings — Logic Pro X

Clefs and Signatures settings are available only when Additional Score Options is selected in Advanced preferences.

⇧ SHIFT – ⌃ CONTROL – ⌥ OPTION – ⌘ COMMAND
Attach Symbol: Down-Bow — Logic Pro X keyboard command of the day

Logic Pro X keyboard command of the day. #LogicProX @StudioIntern1

  Attach Symbol: Down-Bow

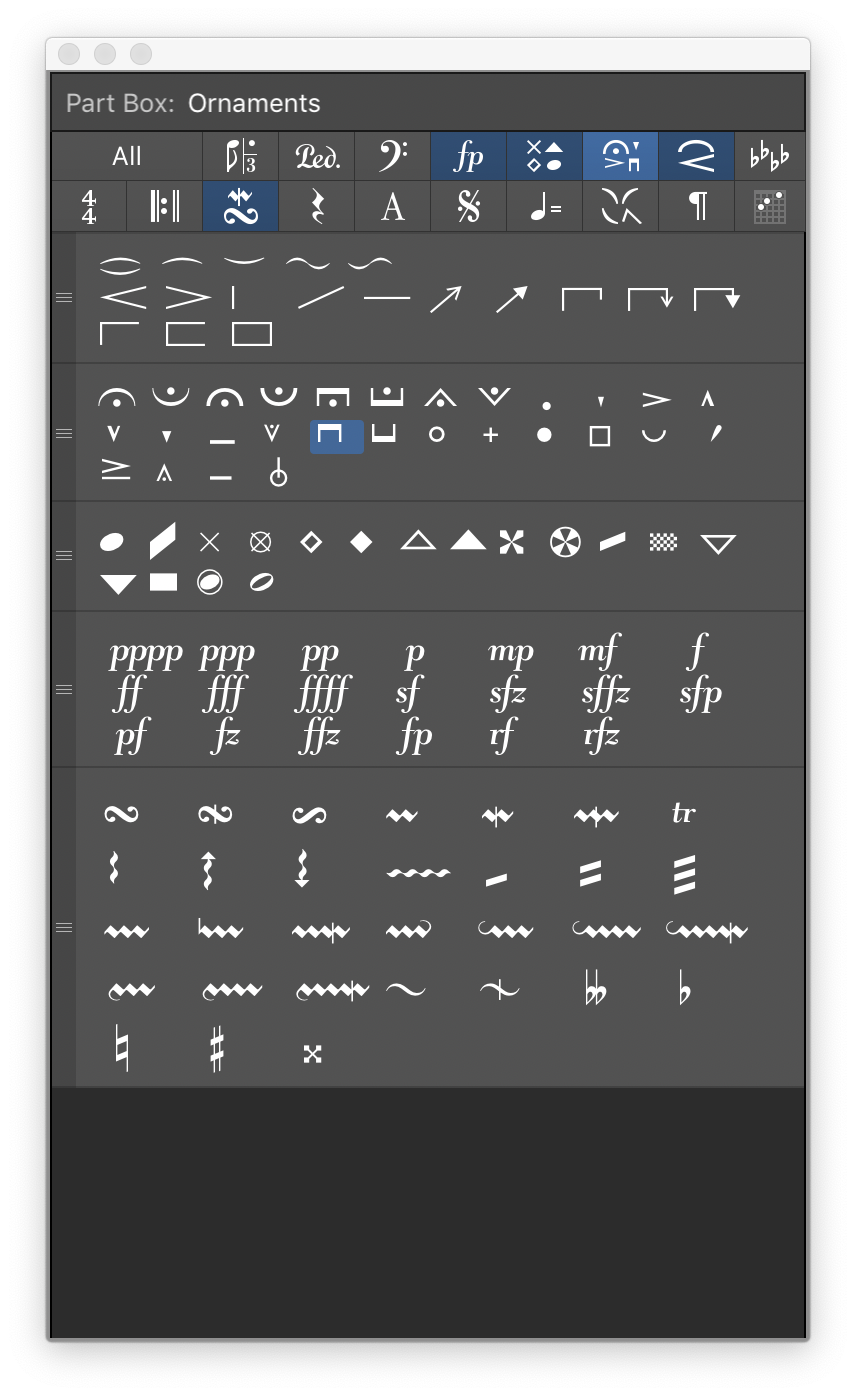
I do not read string parts, so all the performance notes are a learning experience for me. The down-bow mark is found in the Parts Box (Score Editor) under “Ornaments”.

The symbol is not included in any font that I have easy access to. It has three sides — left, top, right. The top line is thicker than the sides.

Unicode Character ‘MUSICAL SYMBOL COMBINING DOWN BOW’ (U+1D1AA)

MUSICAL SYMBOL COMBINING DOWN BOW

⇧ SHIFT – ⌃ CONTROL – ⌥ OPTION – ⌘ COMMAND
Select Used Instruments — Logic Pro X keyboard command of the day

Logic Pro X keyboard command of the day. #LogicProX @StudioIntern1

  Select Used Instruments

Personally I prefer new instruments…

In the Environment. Part of the arcana of Logic Pro X. I don’t see myself building amazing MIDI environments in the near future.

Use advanced selection commands — Logic Pro X

Select Used Instruments: Selects all objects that are assigned to the selected track in the main window, or are connected to such objects via cables.

⇧ SHIFT – ⌃ CONTROL – ⌥ OPTION – ⌘ COMMAND