Logic Pro X keyboard command of the day. #LogicProX @StudioIntern1
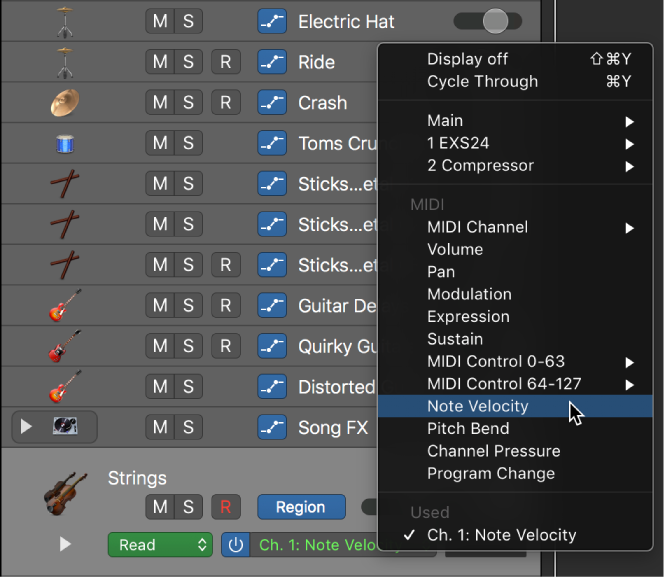
Region Automation: Note Velocity
Almost everything can be automated in Logic. Automation is an interesting programming language.
To show automation use the ‘Show Automation — A’ command. Initially Track automation will be displayed. Click on the ‘Track’ button in the track header to switch to Region automation. Click and hold the track/region button to select the automation that you want displayed.
I don’t expect to automate Note Velocity very often, but those Control Change lanes could be interesting.
Show automation curves — Logic Pro X:
Before you can add automation points to a track’s automation curves, you need to show the automation curves. Automation curves are displayed as colored curves and points on top of audio and MIDI regions across the track, running the length of the project. You can choose whether to view and edit automation across the track (track-based automation) or only within the track’s regions (region-based automation).
⇧ SHIFT – ⌃ CONTROL – ⌥ OPTION – ⌘ COMMAND
Command    Key Touch Bar


- Views showing Time Ruler


Automation: Toggle Track/Region


Region Automation: Volume


Region Automation: Panorama


Region Automation: Balance


Region Automation: Modulation


Region Automation: Breath


Region Automation: Foot Control


Region Automation: Portamento Time


Region Automation: Expression


Region Automation: Sustain Pedal


Region Automation: Control Change 20


Region Automation: Control Change 21


Region Automation: Control Change 22


Region Automation: Control Change 23


Region Automation: Control Change 24


Region Automation: Control Change 25


Region Automation: Control Change 26


Region Automation: Control Change 27


Region Automation: Control Change 28


Region Automation: Control Change 29


Region Automation: Control Change 30


Region Automation: Control Change 31


Region Automation: Control Change 32


Region Automation: Surround Angle


Region Automation: Surround Diversity


Region Automation: Surround LFE


Region Automation: Channel Pressure


Region Automation: Pitch Bend


Region Automation: Program Change


Region Automation: Note Velocity ⌃⌥⇧⌘⌦