Toggle Allow Quick Punch-in — Logic Pro X keyboard command of the day

Logic Pro X keyboard command of the day. #LogicProX @StudioIntern1

  Toggle Allow Quick Punch-in

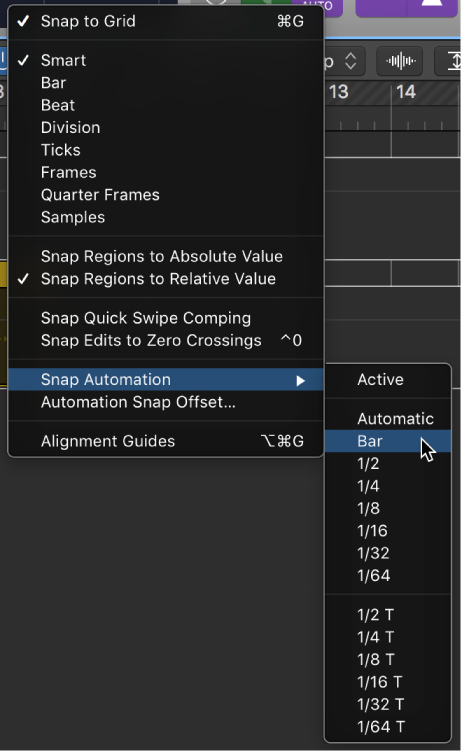
The magic of the modern recording process — digital editing — the zero-crossing.

Logic allows for 1000 tracks now, so any conceivable limit (128 tracks required to quick-punch 64 tracks) is gone.

Quick punch-in and out are probably best used by a producer/engineer while “the talent” is playing. If you are self-engineering auto punch is probably more useful.

Autopunch can be controlled very easily from the MCU using the DROP button (need to find out why drop).

I have mapped a few of the Autopunch commands into Logic Remote for my iPhone. That’s handy. Adding an iPad to the set of active tools in the studio becomes more and more important.

Punch in and out of audio recordings — Logic Pro X

A useful and common recording practice is to switch in and out of recording mode while listening to the previously recorded material, sometimes referred to as “punching in on the fly.” This helps you fix mistakes or create alternate takes for a particular section. To ensure the transition between playing and recording occurs without any audible gaps, you must turn on Quick Punch-In mode.

Use the Mackie Control Drop button — Control Surfaces Help

To activate Punch view, press the SHIFT and DROP buttons.

⇧ SHIFT – ⌃ CONTROL – ⌥ OPTION – ⌘ COMMAND

Fine-tuning Automation In Logic — Sound on Sound

This is a very old article from Sound on Sound magazin from September 2005 — 14 years ago. It is a nice introduction to the value of automation, and the incredible power provided in Logic. Just about everything can be automated — even changing the screen set that you are currently viewing.

It is important to read further to be clear about what Logic Pro X can do (like Track Automation and Region Automation) for just one example.

Fine-tuning Automation In Logic

Comprehensive automation is one of Logic ‘s most powerful facets, allowing micro-management of all the settings in your mix.

Snap Automation Mode: 1/8 Note — Logic Pro X keyboard command of the day

Logic Pro X keyboard command of the day. #LogicProX @StudioIntern1

  Snap Automation Mode: 1/8 Note

It is helpful to be able to align automation points onto the “grid” of a region. If there isn’t a grid (just time ruler) it is probably easier to create an automation point and adjust the position by entering the proper time in the Automation Event window (currently ⌃⌘E)

The Automation Event window is very useful if you are trying to figure out which fader corresponds to a plugin control.

Snap automation to grid positions — Logic Pro X

You can snap track automation to grid positions. You can choose if you want automation to automatically use the division value chosen in the Snap menu, or you can choose a different snap value for automation.

⇧ SHIFT – ⌃ CONTROL – ⌥ OPTION – ⌘ COMMAND

Fader notes: Faders are assigned to channels. Channel 1 is the channel main control. Channel 2 is the first insert, Channel 3 is the second insert. There are 15 possible inserts. The control values are 56 to 71. The 8 send values are 72 to 79.

A complete and utter rabbit hole 😉

Send All Current Fader Values except Sysex — Logic Pro X keyboard command of the day

Logic Pro X keyboard command of the day. #LogicProX @StudioIntern1

  Send All Current Fader Values except Sysex

In Logic *everything* is controlled by “faders”. This is one of the functions that can be performed in the environment (which I still haven’t learned much about) that makes sense, but I do not have a context to place the “sense” into.

Most of the discussion I can find is at least 10 years old, from a time when people had to make their MIDI environment work for them. Flexibility can be a burden.

https://www.logicprohelp.com/forum/viewtopic.php?t=70623

Special functions — Logic Pro X

Sending fader values: Choose Options > Send All Fader Values (or use the Send All Current Fader Values keyboard shortcut) to make all fader objects send their current values. Choose Options > Send Selected Fader Values to make all selected fader objects send their current values.

⇧ SHIFT – ⌃ CONTROL – ⌥ OPTION – ⌘ COMMAND

Toggle Hide Group 30 — Logic Pro X keyboard command of the day

Logic Pro X keyboard command of the day. #LogicProX @StudioIntern1

  Toggle Hide Group 30

Hmm. 32 groups. The keyboard commands for 1 through 9 are ⌃⇧1 to ⌃⇧9 .

The commands do what I expect. If there is a group numbered ‘n’ the command toggles the view of the tracks/channels. Hidden, but not like “Hide Track”.

Groups appear to be very useful. I should use them more. I fooled around with them a bit to try and change colors more easily, but they do so much more.

Groups are “mixer groups”. The overview helps us get started.

Groups overview
The Mixer groups feature is only available when Show Advanced Tools is selected in the Advanced preferences pane.

Prior to mixing, you may find it useful to define some logical channel strip groups. You could, for example, group all drum channel strips under one drum group. This would allow you to control the group meters (volume, pan, mute, solo, sends, and so on) using a single control, while still maintaining the relative parameter values of each channel strip.

Excerpt From: Apple Inc. “Logic Pro X User Guide.” iBooks.

⇧ SHIFT – ⌃ CONTROL – ⌥ OPTION – ⌘ COMMAND