Mixing In Stereo — Everything You Need To Know To Make Your Music Mono Compatible | Production Expert

Mixing In Stereo — Everything You Need To Know To Make Your Music Mono Compatible | Production Expert

Think you know everything there is about mixing in stereo? Think again. FabFilter has published an excellent three part video series produced by Dan Worrall titled How To Mix In Stereo Without Sucking In Mono. This series is extremely well presented explaining stereo mixing fundamentals, panning, stereo microphone placement, phase, the effects of comb filtering, width, mono compatibility and more.

I just watched the first part — “Toeing the Blumlein” and stayed fascinated throughout.

I do a lot of mono monitoring to make sure things don’t get lost, but I rarely make changes that will make the mono mix down work really well. These videos are an excellent pointer.

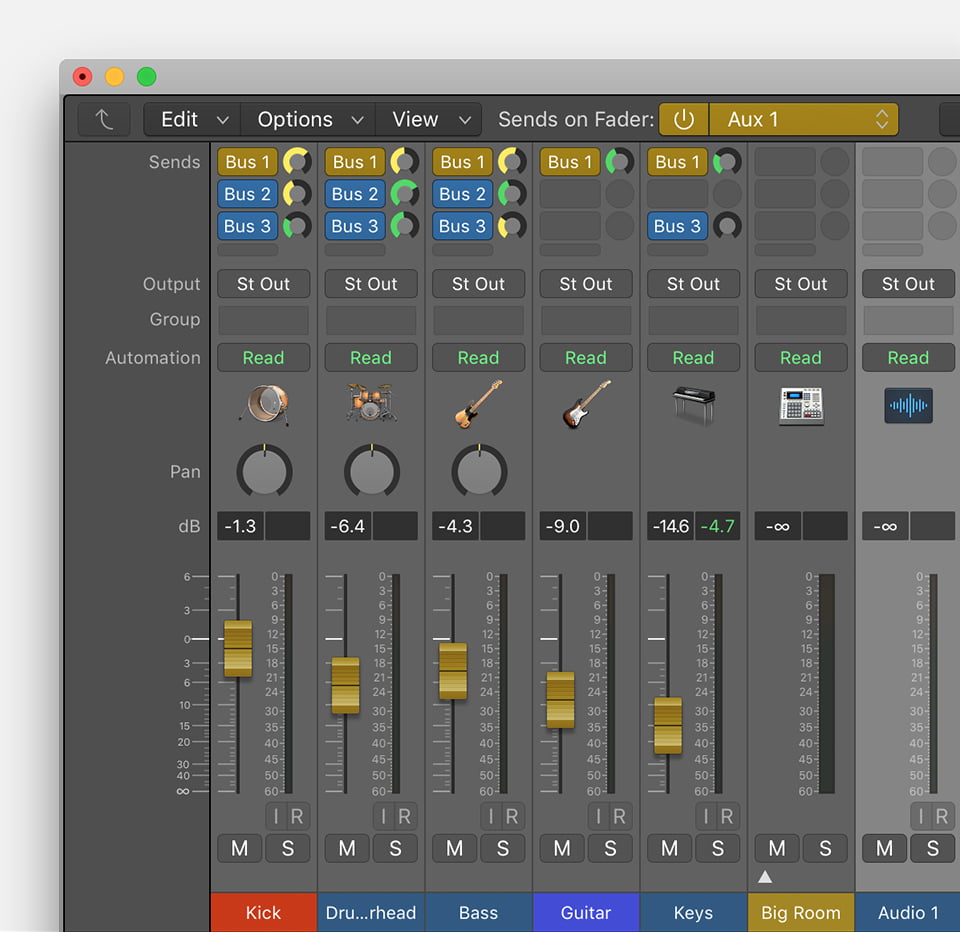
Using Logic built-in plug-ins I think it will require several steps (made easy by the FabFilter tools)

Bus effects — independent panning required?

Logic EQ would need to have two instances, one for Mid and one for Side. Probably 2 aux channels…no, simply use the EQ in “Dual Mono” mode and work with Mid and Side channels as desired. Unfortunately there are no documentation resources for the “Dual Mono” mode of the EQs in Logic. The documentation says use two plug-ins. I will try to compare other EQs and see how easily things can be adapted.

Ozone 9 EQ essentially has both available “easily” along with pan and width.

Mid, Side, and Everything In Between (A Mid/Side Deep Dive)

Mid/side processing is an undeniably powerful technique, and one which gives the mastering engineer a wide range of sonic sculpting tools not available with traditional stereo processing. However, as we all learned from Spiderman’s Uncle Ben, “with great power comes great responsibility.”

IK Multimedia has a nifty new EQ — T-Racks EQual…

IK Multimedia — EQual

The new EQual digital equalizer is a 10-band, ultra-clear, high-end parametric equalizer with an extremely transparent sound, ultra-precise editing and a vast array of filter shapes that are based on the typical curves of classic British and American analog EQ’s. This incredibly flexible “hybrid monster” gives you the best of both worlds — digital precision with transparent clarity and on-demand analog character that works perfectly for high end mastering as well as individual track work.

Also need to look at the Imagers….

Aggregate I/O — Cue Mixes — Route That Audio

Control sends on faders in Logic Pro X — Apple Support

When you set the mixer to Sends on Faders, send level replaces channel volume on all instrument and audio channel strips with the same send. Sends on Faders can be a great way to quickly create a headphone mix.

I have been using an aggregate IO device on my Mac for years. I keep changing things around, and think I have a nice, workable solution.

I have my Behringer XR18 “first” for 18 outputs. That is followed by the USB outputs on my Behringer Monitor2USB (output 19-20). I can route a “cue” mix to that stereo pair and easily select it by changing the input button from source 1 to source 2. Great idea. I can also “demo” multiple mix buses if I want to.

I use Rogue Amoeba’s “Soundsource” to route application audio. I can direct output to a device, but I don’t have quite the control that I am looking for just yet. It’s probably time to break out Rogue Amoeba’s “Loopback” (think Soundflower or Dante VIA) to see if I can fine tune output targets to separate channels on the XR18 or Monitor2USB or internal speakers…lots of experiments to be had.

creating midi file from Logic’s metronome [SOLVED] — Logic Pro Help

creating midi file from Logic’s metronome [SOLVED] — Logic Pro Help

Here’s the idiot-proof version for those who have never worked in environment before. I like having a separate individually adjustable click track:

This is a very handy little trick — make a MIDI recording of the click track.

Here’s the idiot-proof version for those who have never worked in environment before. I like having a separate individually adjustable click track:

1) Make sure tempo is as you wish it to be. Create a MIDI instrument track and choose instrument Utility->Klofgeist. Leave that track selected

2) From the Logic Main window, Open Environment window. WINDOW->OPEN MIDI ENVIRONMENT

2) At Upper Left Corner of Environment window , Pull down menu “Layer” with default value “Mixer” to choice “Clicks and Ports” ( Layer->Clicks and Ports)

3) Click and hold on the little arrow in (MIDI Click icon) and drag to (Sequencer Input) icon there is some confirmation I forgot but I accepted. A line should stay when you release, something like appears below.

4) Close Environment window

5) Make sure the click track you created is in Record mode and start recording. Boxes should appear, sent from the metronome to the track. Those notes comprise your click track.

Recall Screenset 1x ⌃1 — Logic Pro X keyboard command of the day

Logic Pro X keyboard command of the day. #LogicProX @StudioIntern1

  Recall Screenset 1x    ⌃1

Recall screensets 10 through 19. I haven’t used more than 5 in any of my projects, but I can certainly see how it might come to that. I have yet to try the intriguing “switch to screenset ##” during playback. That could be a big time saver if there are some extra fiddly things that need to be looked at.

Create, recall, and switch screensets — Logic Pro X

You position windows in a layout that suits the way you work. This layout of various windows, including their display size, zoom levels, position, and other settings, is called a screenset. Once defined, you can save, and freely switch between different screensets, much as you might between different computer displays.

⇧ SHIFT – ⌃ CONTROL – ⌥ OPTION – ⌘ COMMAND

Open in Audio File Editor ⌃W — Logic Pro X keyboard command of the day

Logic Pro X keyboard command of the day. #LogicProX @StudioIntern1

  Open in Audio File Editor    ⌃W

Opens the currently selected note/sample in the Audio File Editor. Not to be confused with the global command ‘Open in External Sample Editor ⇧W’ (I have this currently set to RX7) which opens the audio in a separate application.

Audio File Editor overview — Logic Pro X

Most day-to-day audio editing tasks are performed in the main window and Audio Track Editor. The Audio File Editor is useful for removing pops and clicks in audio material, setting accurate crossover points for looped playback, correcting phase cancellation errors, and more.

You can use the Audio File Editor to work with transient markers that indicate significant points—or transients—in an audio file. The audio on a track is analyzed for transients the first time you enable that track for Flex Time editing. Any detected transients in the file are marked.

Important: Most edits and functions performed in the Audio File Editor are destructive. This means the actual data of audio files is changed. Although you can undo edits and processing commands, you should work with copies of your audio files, rather than the originals.

⇧ SHIFT – ⌃ CONTROL – ⌥ OPTION – ⌘ COMMAND