Logic Pro X keyboard command of the day. #LogicProX @StudioIntern1
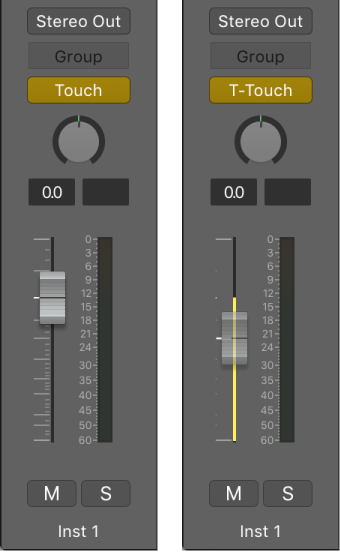
Toggle Current Track Automation Trim Mode
Heavy use of automation required. I have to remember that the DAW is where things are produced and polished. Coming from the ‘live’ side of things I am usually oblivious to the tools available for making changes to a ‘recording’ after the fact.
I really do need to pay attention to automation.
Choose automation modes — Logic Pro X
Trim: Offsets the value of the existing automation (Volume, Pan, Send levels) by adjusting it up or down by the amount you move the fader or control. Works in combination with Touch and Latch automation modes.
⇧ SHIFT – ⌃ CONTROL – ⌥ OPTION – ⌘ COMMAND